
In our last article, we reflashed our laptop and ended with the Linux Debian 11 Start screen. In this article, we will review some important first steps to take after reflashing to Linux Debian. Here is the Debian Start screen:
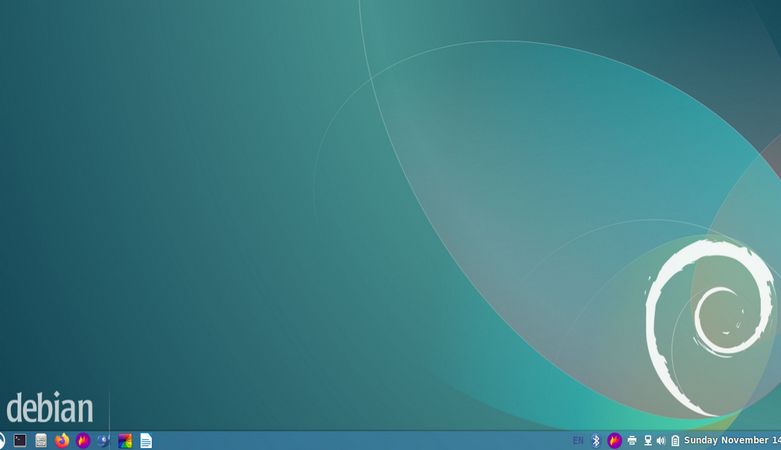
Click on the Debian Menu in the lower left corner to bring up the Programs Launcher:
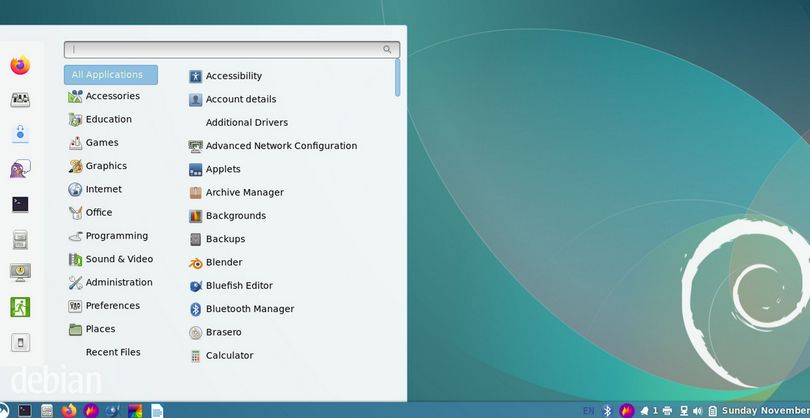
Here is a closer view of the Programs Launcher reached by clicking on the Debian Start button in the lower left corner of the screen:
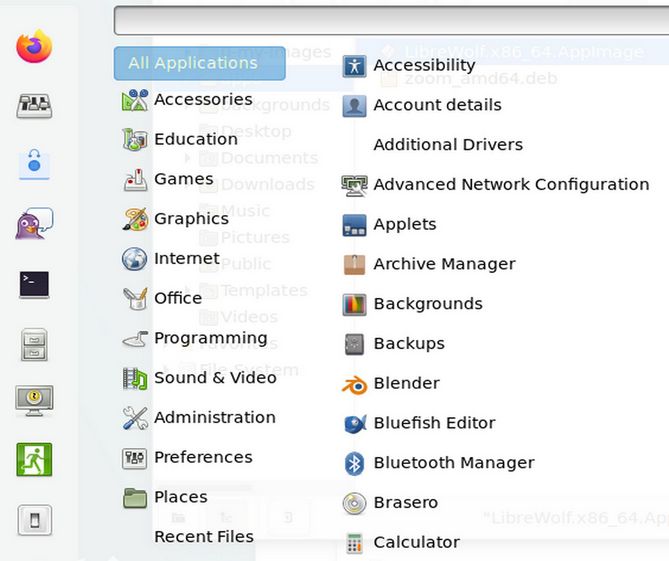
Debian 11 now comes with the Debian Software Manager. It is the blue and white shopping bag near the top of the left column. How it got added to the Favorites column was by clicking on Administration, then click Software. Then right click and click “Add to Favorites.”
Step 1: Change Debian Settings
Go the Debian Start menu and click on System Settings which is the second icon in the first column. Below is the first row in System Settings. It is called Appearance.
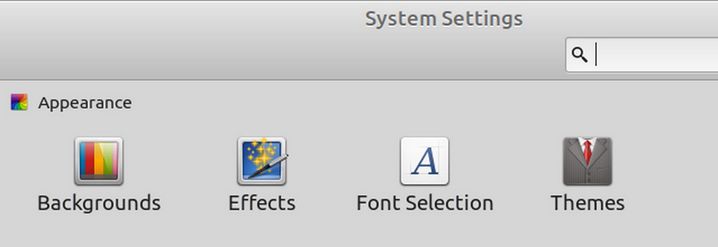
Click Backgrounds where you can change your background image, add your own custom images and even set up a slideshow to play on your Desktop. Then click Effects. Turn off all of the Effects. Then click Font Selection to increase the font size. Then click Themes to change themes for your panels and windows to whatever you want.
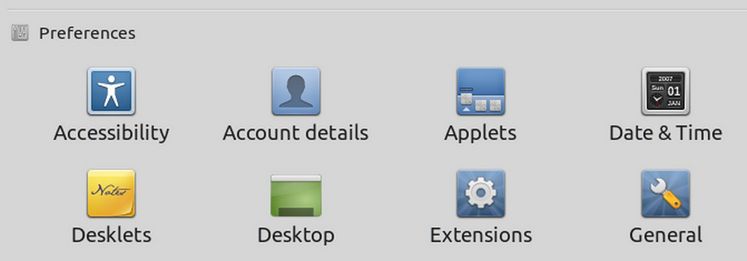
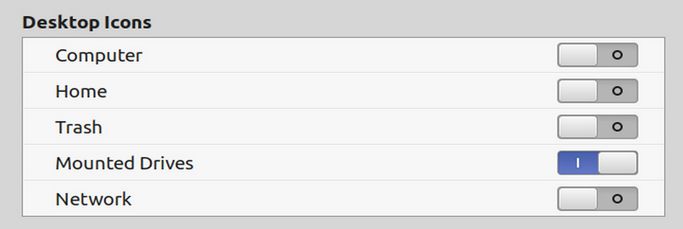
The second set of rows in System Settings is called Preferences. Click Date and Time. Turn off the 24 hour clock and turn on the date. Then click Desktop. Check Mounted Drives to make sure they appear on the Desktop when you insert a USB stick. Scroll down to the Screen Saver icon and open it. Change the Delay time to Never and turn off both Lock settings.
The third set of rows is called Hardware.
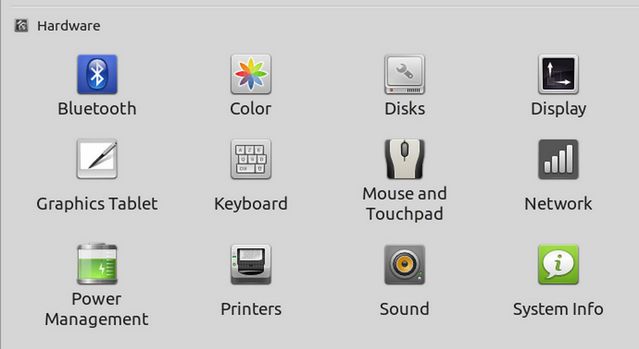
Click Power Management. Change the settings to Never and Shut down immediately. Then click Sound. Click Settings to increase the maximum sound to 150%. Then close the Settings screen.
Step 2 Add Software
Click on the Start button. Then click on the Shopping Bag icon to go to the new Debian Software Manager:
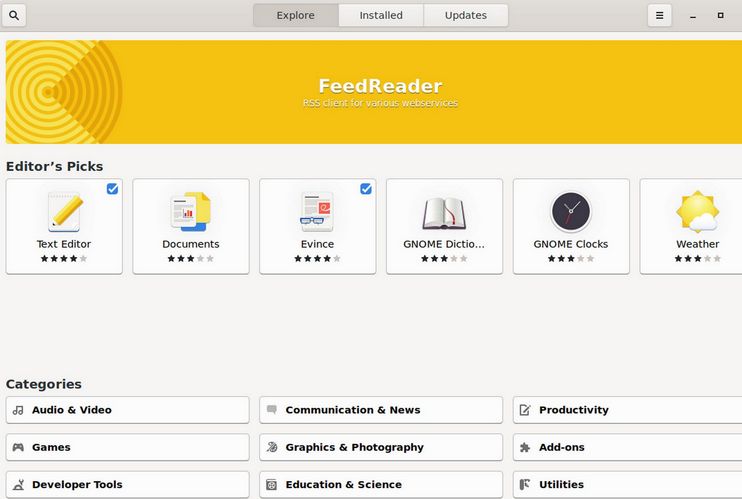
Click on the Search icon in the upper left corner to bring up a Search box. Then type Flameshot in the search box. Then click on Flameshot to bring up the Install page.
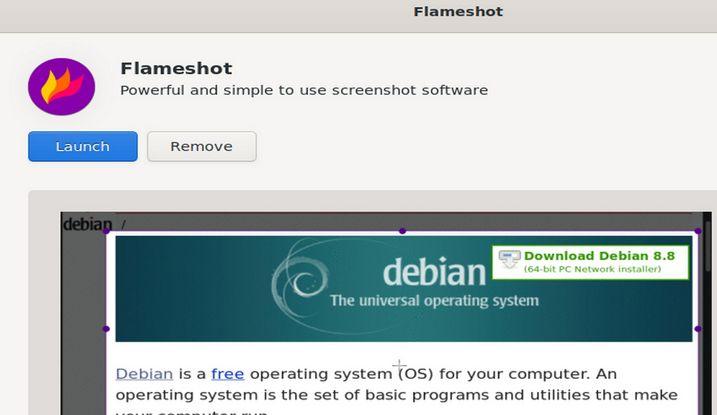
Then click on Install to install Flameshot screen capture tool. Then look for it in the Applications list and right click, then click Add to Panel to add it to the program quick launch icons in the bottom panel.
Then go back to the Debian Software Manager and install the Bluefish HTML editor. Also install Krita and Gpick and Gparted. Then click on Installed to see a list of all programs and an easy way to uninstall any programs that you do not want or need.

Then close the Software Manager.
Step 3 Improve the Appearance of the Debian File Manager
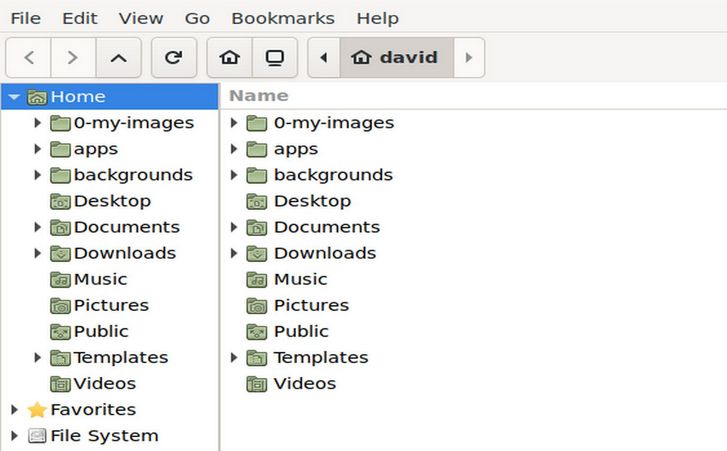
Click on the Filing Cabinet icon in the bottom task bar to bring up the File Manager. Right click on the screen and click Create New Folder. Then create a folder called 0-my-images. Then right click on the screen again and create a folder called apps. Then click Edit Preferences. Change the Default View to List View. Click List Columns and uncheck Type. Then click Toolbar and click Computer, New Folder, Refresh and Home. Then close Preferences. Then click on the Refresh button. Then in the lower left corner, click Show Tree View. Your file manager should now look like this.
Step 4 Install a More Secure Web Browser called Libre Wolf
Next, we will install an apt image called the Libre Wolf Browser. Go to this web page:
https://gitlab.com/librewolf-community/browser/appimage/-/releases
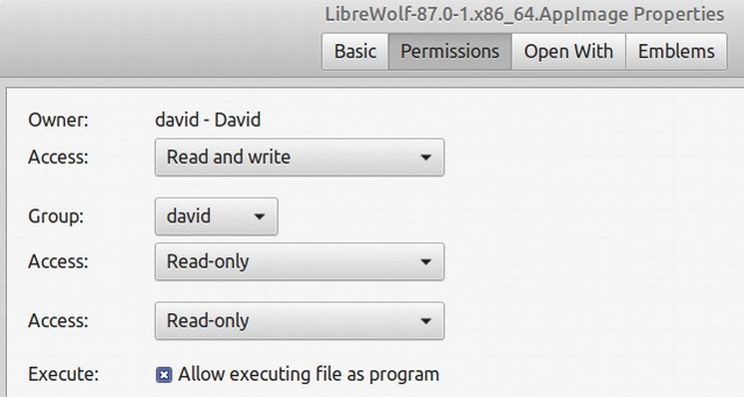
Download the app image to your Downloads folder. Then create an apps folder and transfer the app image to your apps folder. Then right click on the file and click Properties. Then click the Permissions tab and check Allow executing file as a program.
Then close the Properties screen. Left click on the Mint Menu and click Configure. Then click Menu. Then click Open the Menu Editor. Then click Internet . Then click New Item.
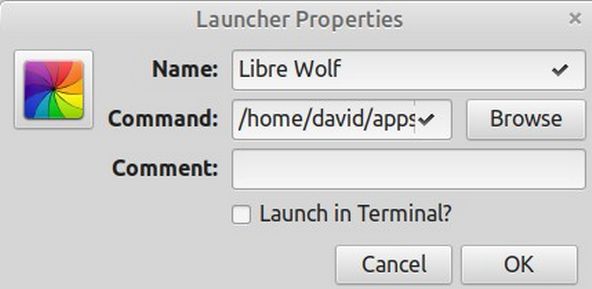
Call it Libre Wolf. Browse to the app to select it. Then click on the icon to select an icon. Then click OK. Then add the app to the panel.
Notes on Using Libre Wolf
Libre Wolf provides much more security and privacy than normal web browsers. However, please be aware that many functions will not work with Libre Wolf. In particular, when making changes with the Hestia Control Panel or the Joomla Dashboard, you should use the Firefox browser and NOT the Libre Wolf browser. You can however view the changes on the front end of your website using the Libre Wolf browser.
Libre Wolf also disables the auto play feature of background videos and other videos. To see this, visit the Home page for collegeintheclouds.org. There is a background video in the header but it does not play in Libre Wolf. To allow auto play, open your Libre Wolf browser and click on the menu in the upper right corner. Then go to Settings, Privacy and Security tab. Scroll down to Permissions, Autoplay and click Settings. Then change Autoplay from Block to Allow Audio and Video.

Then click Save Changes. Then restart Libre Wolf. Background videos will now auto play in Libre Wolf.
Change Jitsi Settings to Allow Jitsi Video Conferencing
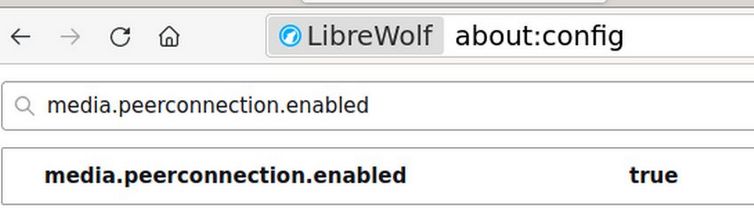
In addition, to changing Auto Play to Allow, we also need to open Libre Wolf and type about:config into the URL bar. In the search bar type "media.peerconnection.enabled”. To the right it will most likely say false, Click on the toggle arrows to change it to true.
Then restart Libre Wolf. Then go to meet.jit.si to start a new video conference.
Hopefully, you can now use the Libre Wolf browser for a more secure video conference session. But you should still not use Libre Wolf to make changes in either your Hestia Control Panel or your Joomla Dashboard. For that, you should use the Debian version of the Firefox browser.
Upgrade and Customize Libre Office
Our goal in this article is to first upgrade LibreOffice and simplify the LibreOffice screen.
Upgrade LibreOffice
By default, LMDE comes with a very old version of LibreOffice (version 6). To download the latest version of LibreOffice, go to this link:
https://www.libreoffice.org/download/download/
Change from rpm to deb:
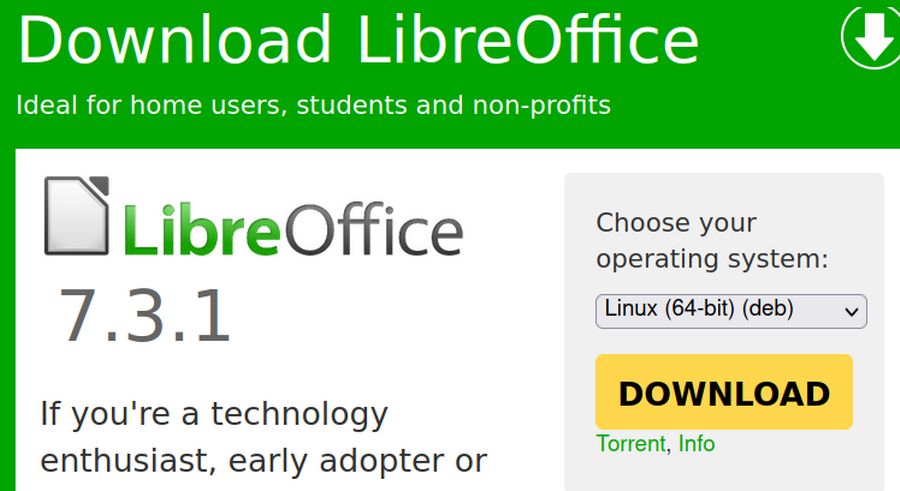
Then click Download. Save the file in your Downloads folder. Then extract the folder. Then open the extracted folder.

Before we can install the new version of LibreOffice, we need to uninstall the core files of the old version. To do this, open a terminal and copy paste this:
sudo apt-get remove libreoffice-core
Then enter your password and press Enter again. When the uninstall is done, close the terminal
Then in the LibreOffice folder in your Downloads folder, left click on the "DEBS" folder to select it. Then right click on the DEBS folder and choose "Open in Terminal". A terminal window will open. Copy and paste the following command:
sudo dpkg -i *.deb
The installation process is now completed. Add the new Libre Writer 7 icon to the task bar.
Simplify Libre Writer
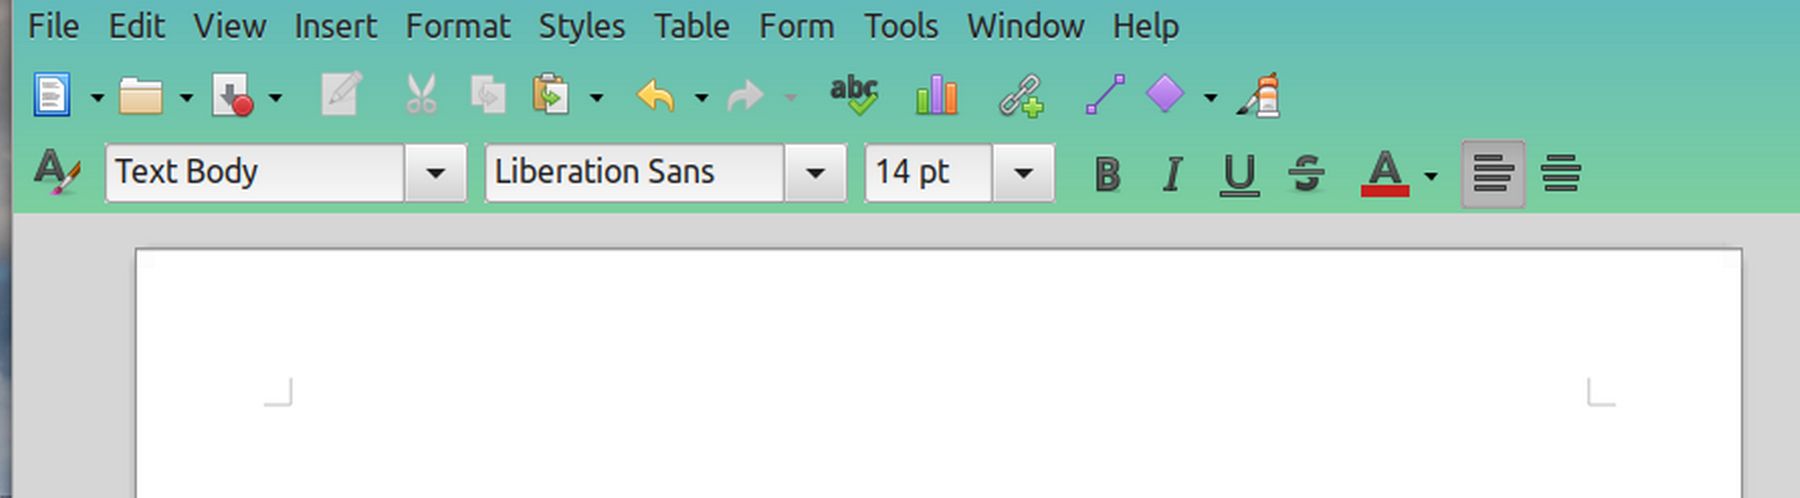
Open your first Writer document. When you open your first Libre Writer document, you are confronted with a bewildering nightmare of functions spread out in a full screen from one side of your desktop to the other.
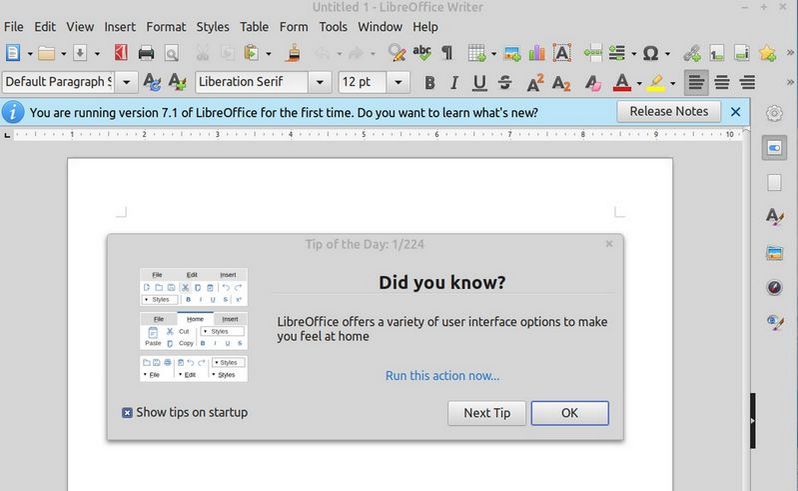
Clearly the authors of Libre Office did not consult with a teacher in their choice of a Start screen. Uncheck Show tips on startup. Then close the Tips window. Then close the Release Notes bar. We still have the following mess:
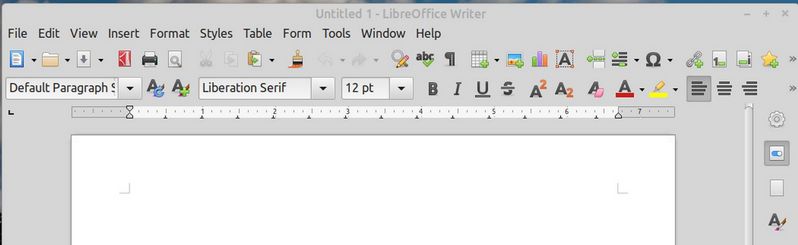
Click View and uncheck the Status Bar. Then click View again and uncheck the Ruler. Click Tools, Customize and click the Toolbars tab:
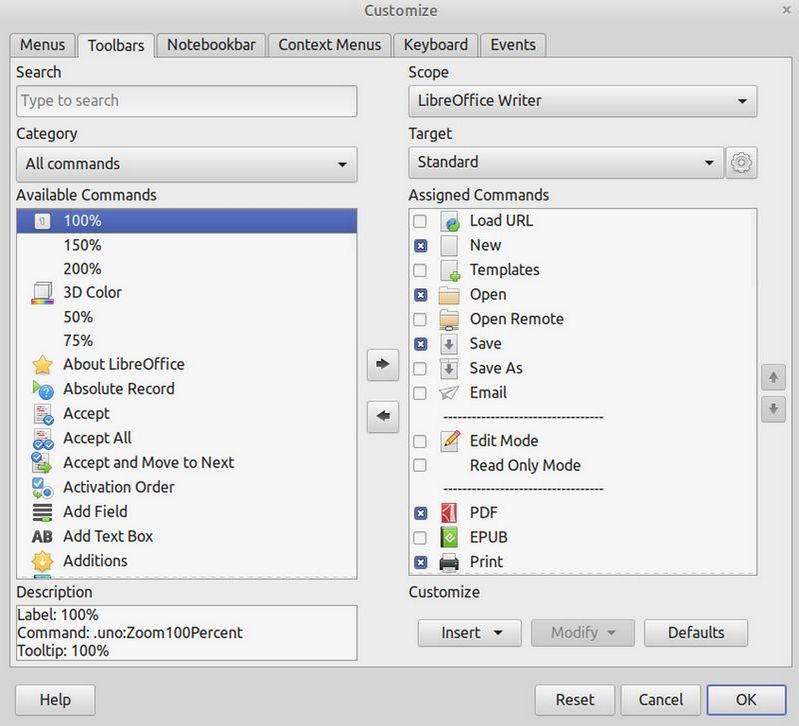
By default, the screen opens at the Standard Toolbar – which is the tool bar just below the main menu. The reason we need to uncheck most of these options is that we never want Libre Writer to take up more than half the width of our desktop. This is important so we can have a two documents side by side or one document and a web browser side by side. We will therefore uncheck the following Standard Toolbar functions which are checked by default:
PDF, Print Directly, Print, Clone, Find and Replace, Formatting Marks, Table, Image, Text Box, Page Break, Field, Symbol, Footnote, Endnote, Bookmark, Cross Reference, Comment, Track Changes Function. Then click OK.
Then click Tools, Customize again and change the Target from the Standard toolbar to the Formatting Toolbar (which is the second row below the main menu).
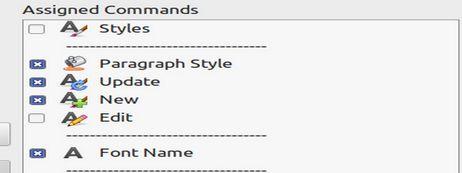
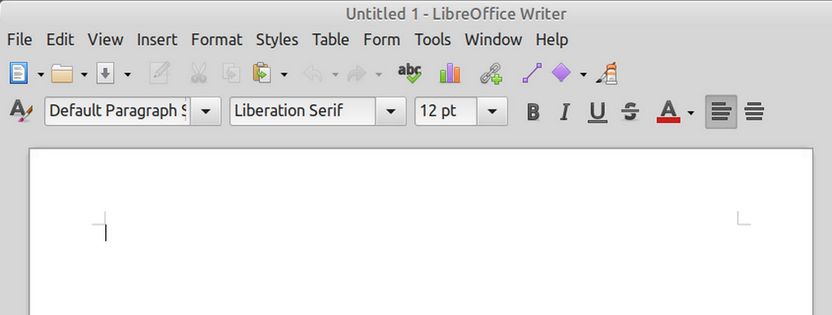
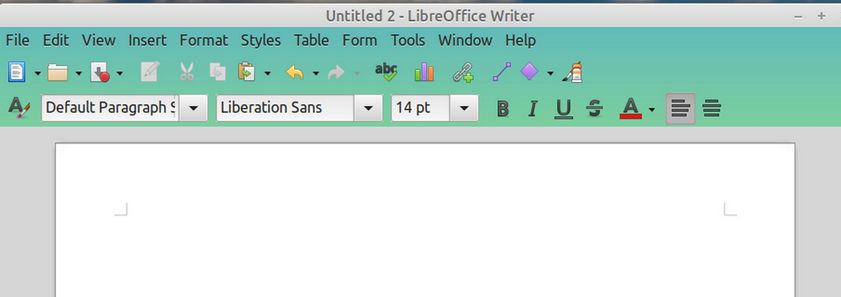
It is shocking that the most important of all Libre Write functions, called Styles - is not checked by default. So check the Styles function. Then uncheck the following functions which are checked by default: Update, New, Strikethrough, Superscript, Subscript, Clear, Highlight Color, Right, Justified, Bullets, Numbering, Increase, Decrease, Line Spacing, Increase, Decrease, Left to Right, Right to Left. Then click OK. Here is our simplified screen:
Next click Tools, Options, Paths:
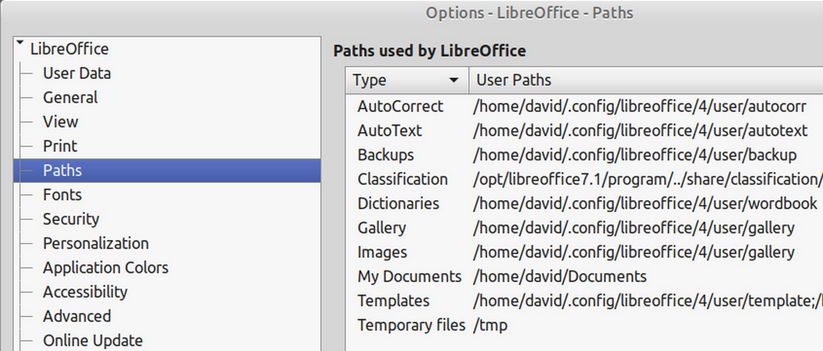
In the right column, click on the Images path. Then click Edit. Then click on your Home folder and click 0-my-images. This will give you better control over the location of your saved images.
Then click on the Templates path and click Edit. Select the top path and click Delete. This will leave the templates path as /home/yourname/Templates.
Then click OK. Then click Personalization and select a color. Then click Apply. Then click Online Updates and uncheck Check for updates automatically.
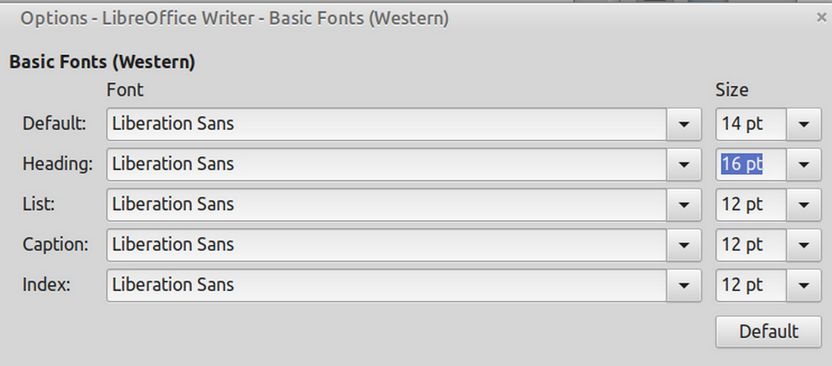
Then click Libre Writer and click Basic Fonts (Western). Change the default from Liberation Serif to Liberation Sans. Then change the size for Default from 12 to 14 and change the size for Heading from 14 to 16:
Then click Formatting Aids and change the image anchor from Character to Paragraph. Then click Apply and OK
Next change the Paragraph style in the box from Default to Text Body. Then click on Styles to open the Styles panel. Right click on the Text Body style and click Modify.
24
Click on the Indents and Spacing tab. Then increase the Above spacing to 0.08 and decrease the below spacing to 0.06. Then at the top of the Styles Panel, click on the Frame Styles icon which is the third icon from the left.

Then select Graphics, right click and click Modify.
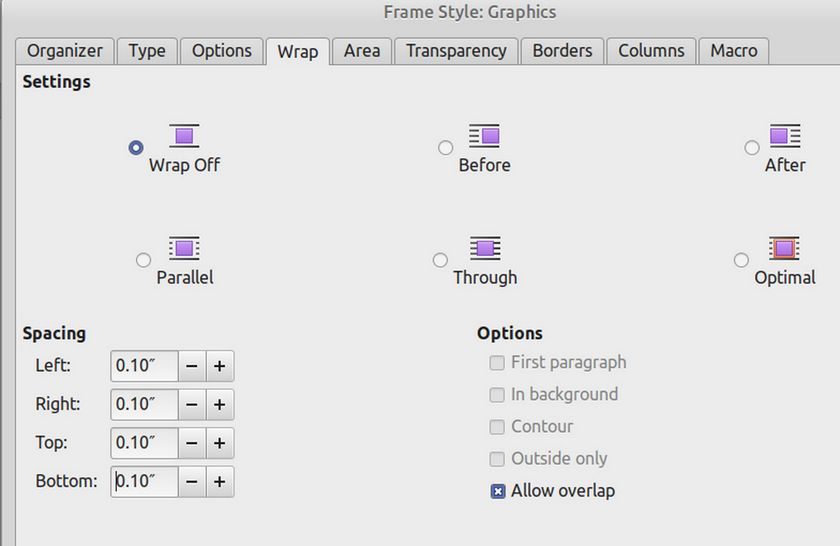
Click the Wrap tab and change the Wrap to Off. Then add 0.10 inches of spacing to Left, Right, Top and Bottom. Then click Apply and OK.
Then at the top of the Styles panel, click on Page Styles which is the fourth icon from the left. Then right click on Default Page Styles and click Modify. Then click on the Page tab.
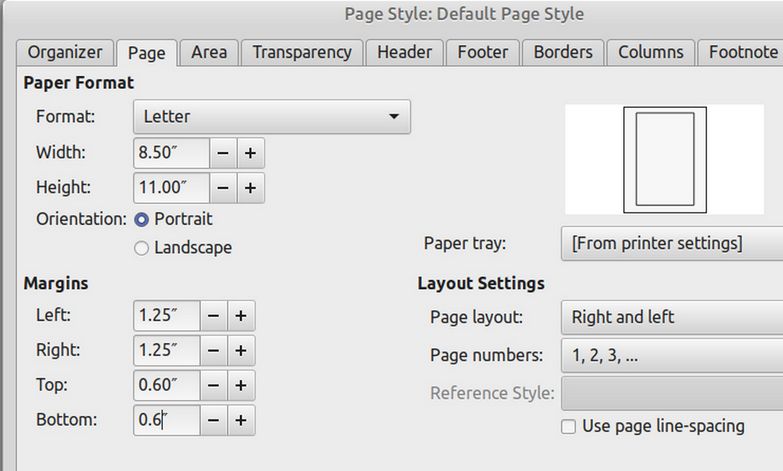
Change the Format from A4 to Letter. Then change the Left and Right margins to 1.25 inches and the Top and Bottom margins to 0.60 inches. Then click Apply and OK.
Then click View, and uncheck the Side Bar to hide the Styles panel. Here is our final simplified configuration:
Create Your Default Template Style
Click File, Templates, Save as Template. Name the template My Template. Then click the My Templates category. Then check Set as the default template. Then click Save.

Then close your empty write document. Do not save it. Then open a new Writer document to check that the new document appearance is controlled by your new default template.
Increase the number of documents in File, Recent Documents
Open a Libre Writer document and click on File, Recent Documents to see a panel of 25 most recent documents. If you work with a lot of documents at the same time, it is useful to increase the number of Recent Documents displayed to 99. To do this, click on Tools, Options, LibreOffice and select the Advanced menu item. In the right panel of the Options window in the bottom right, press the button called Open Expert Configuration. A new window will open and at the top is a search bar. Enter picklistsize and press enter.

The default value of the value box is 25. Click on it to bring up a popup and increase the number to 99. Then click OK, OK, Apply, OK.
How to change your log in password
In Linux, there are users, user groups and the super user or root user. While a normal user may only change the password for their own account, the super user (or root user) can change the password for any account. In this article, we will explain how to change your Linux User password in two different ways. First, we will change your User password using the Desktop Graphical Interface. Then we will change your password using the Linux terminal. If you want to change your User password on a Linux Server, you must use the terminal method as servers do not have a Graphical Interface.
Change your Password using the Desktop Graphical Interface
Click on the Start Menu, then click on Settings. Then scroll down to the bottom of the Settings screen and click Users and Groups.

Click on the user and enter your password to bring up this screen:
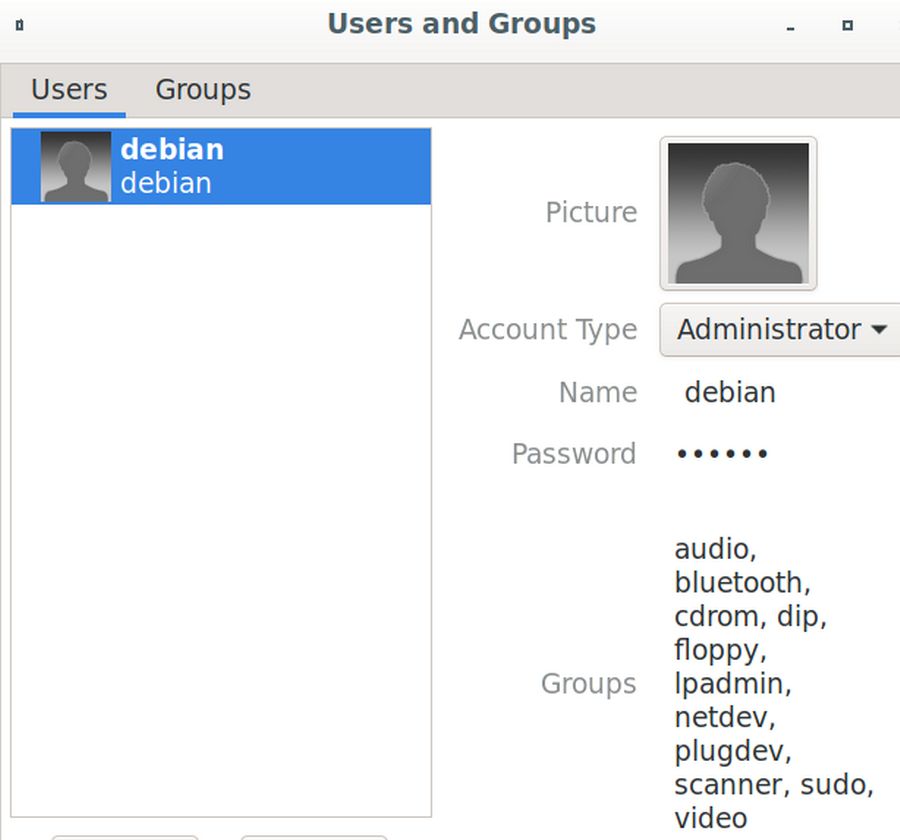
Click on the six dots to the right of the word Password.
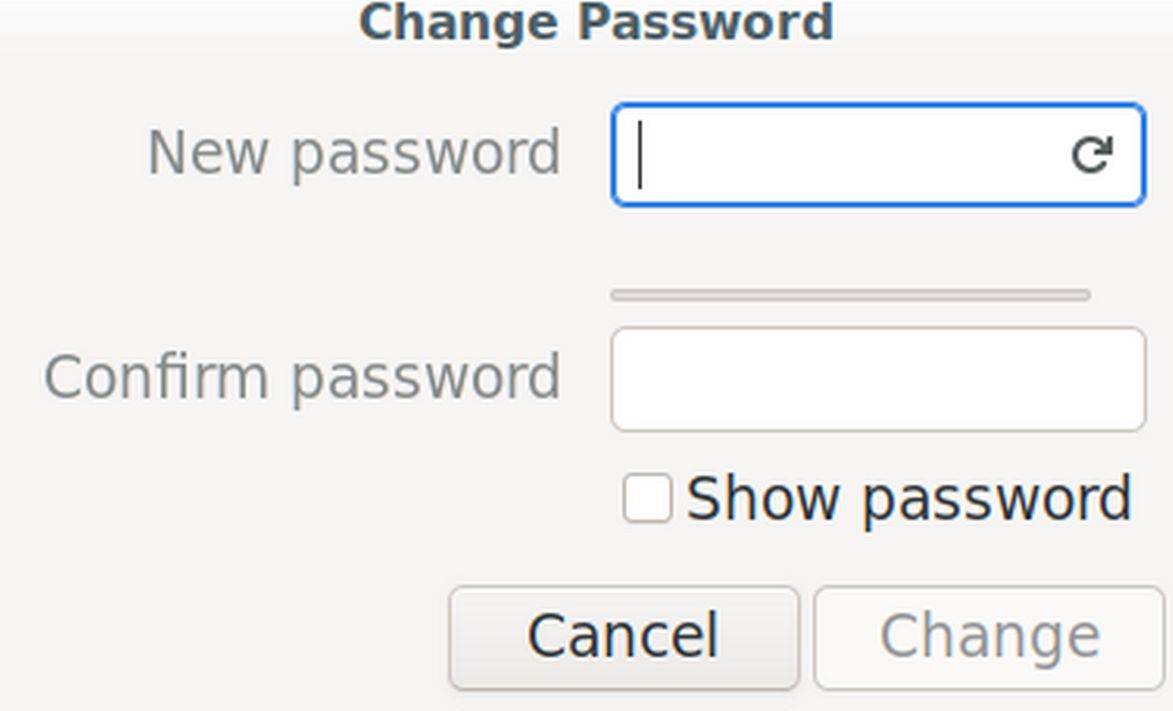
Enter your new password. But be sure to make a record of your new password and or use a password you know you will remember. Then click Change. Then close the User screen. Then close the System Settings screen. Then open Settings again and click on Users and Groups. Enter your new password to confirm that it works.
Change your User Password with the Linux Terminal
From the Start menu, click on the terminal to open it (or on your keyboard, press the Control, Alt and T keys). Type passwd. Then press Enter.
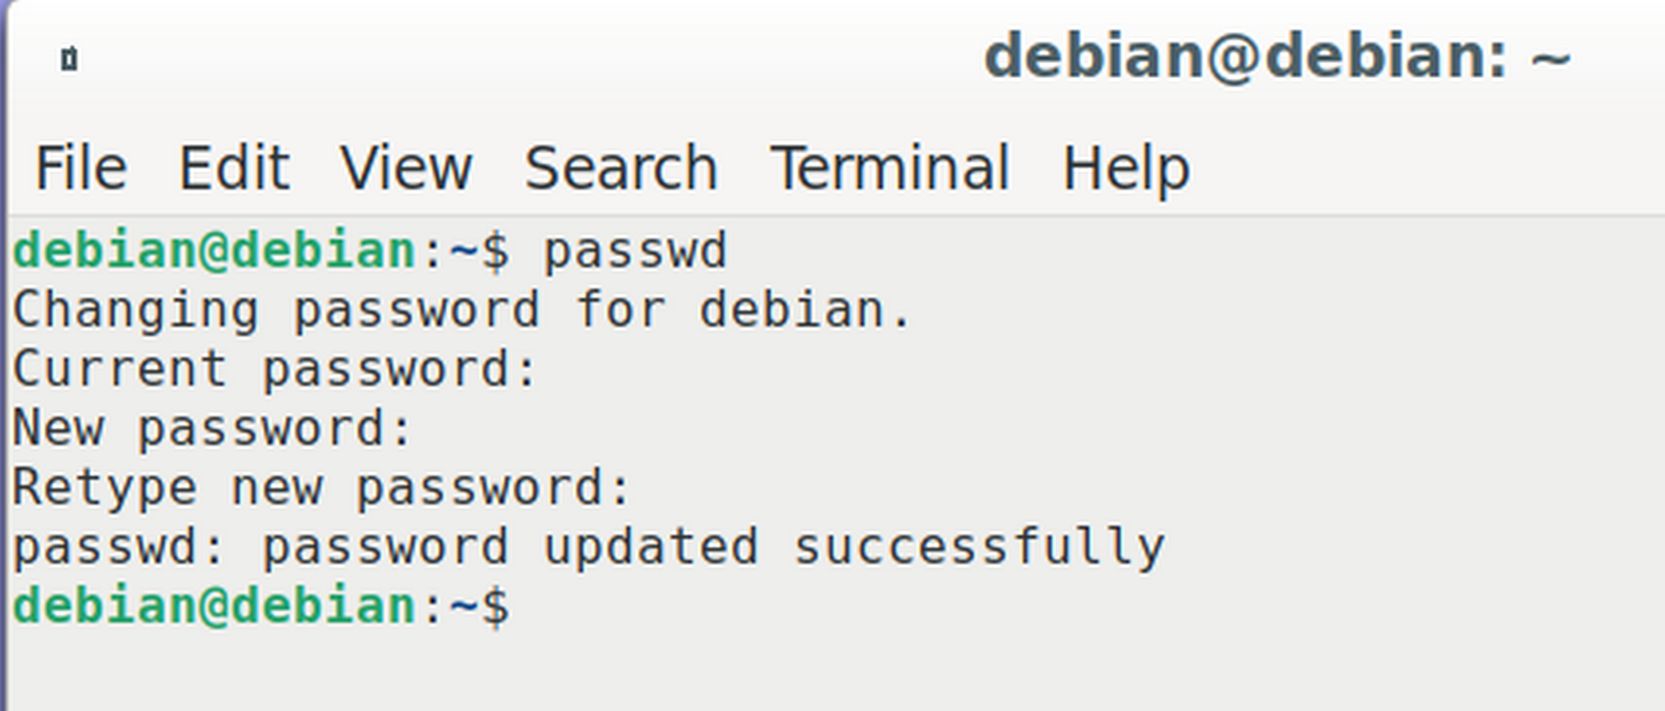
You will need to type your current password in. But it will not be shown on the terminal screen. You then need to type your new password into the terminal. It will also not be shown. Then retype your new password. The terminal will state password updated successfully. Close the terminal. Then test your new password by going to Settings, Users and Groups and typing your new password to open the Users screen.
Congratulations! You now know two ways to change your password!
What’s Next?
In the next article, we will set up a VPS account at Canhost and use it to install the Hestia Control Panel.