
In this section, we will review the advantages and drawbacks of various payment gateways. Payment gateways are companies that charge a fee to process orders. The fee ranges from 1 percent to 5 percent. There may also be set up fees and monthly charges.
Phoca Cart Default Payment Options
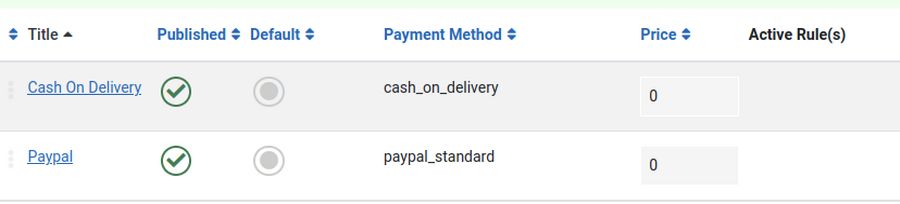
Click on Payments and you will see that Phoca Cart comes with two payment options. These are Cash on Delivery and PayPal.
To use a different payment gateway, click on Phoca Cart Control Panel, Extensions, Plugins. The gateway I recommend is Stripe. Click on the link to go to this page:
https://www.norrnext.com/phoca-cart-extensions/stripe-for-phoca-cart

The cost of the Stripe Payment Gateway plugin is $35 Euros. It is compatible with Joomla 4.
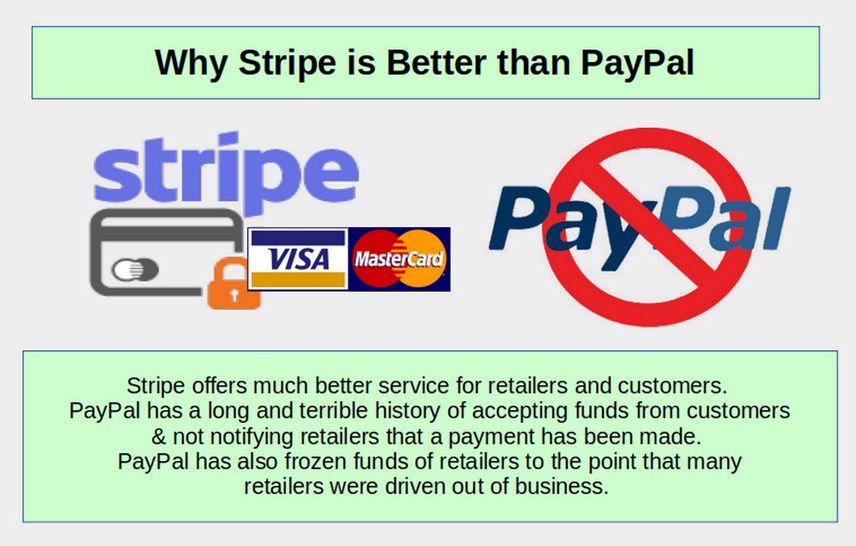
Why Use Stripe Instead of PayPal
Pay Pal Hidden Funds and Frozen Funds Problems
In 2012, there were many cases of customers ordering products online and paying for them with Pay Pal, but Pay Pal had a miscommunication with retailers who never received online confirmation that the payments were made. Instead, Pay Pal would return a “still pending” code to the retailer. The customer had proof of payment and the retailer even received the payment. But there was a breakdown in communication.
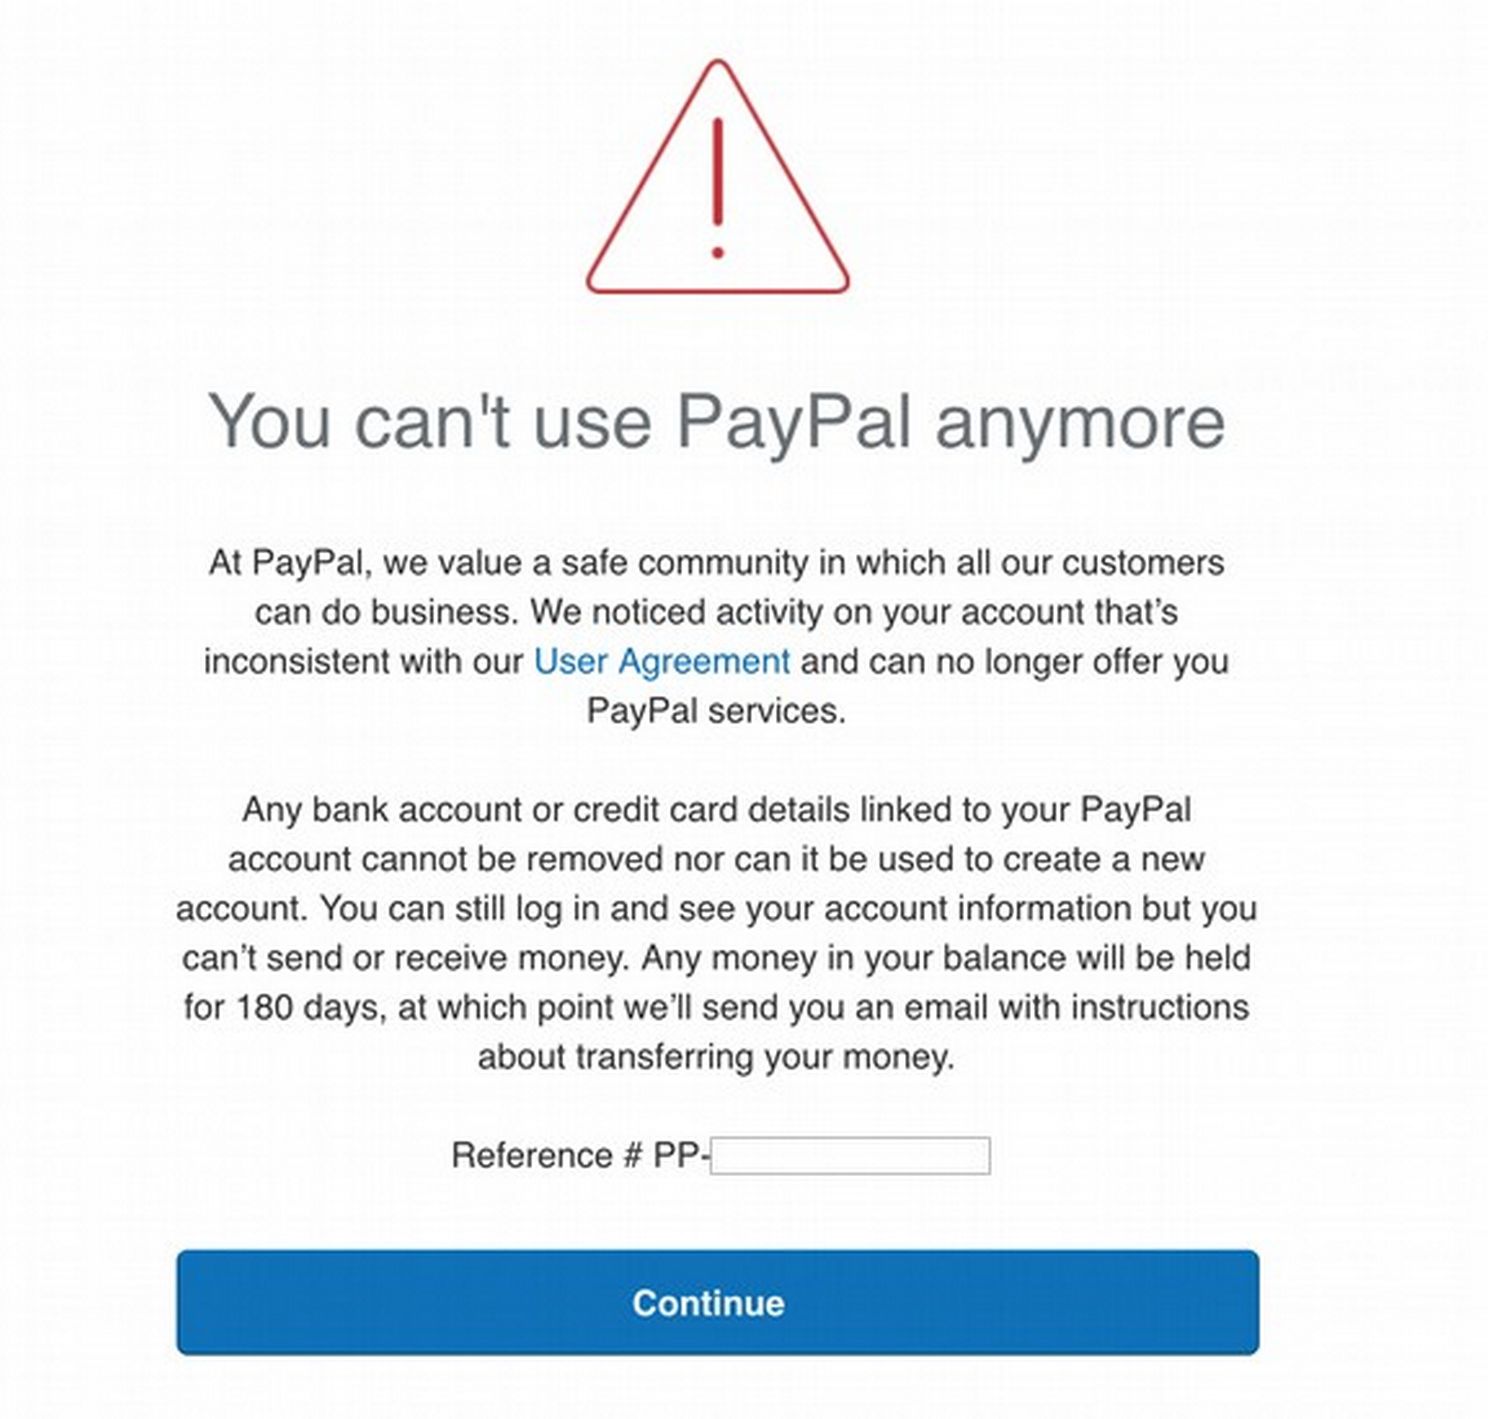
I personally do not recommend Pay Pal for an equally important reason. PayPal has frequently frozen funds of retailers for months on end with no way for retailers to get access to those funds. PayPal has been known to suspend retailer accounts and hold retailer funds for 6 months or more. Here is a graphic you get when your account is suspended:
PayPal is therefore a bad option for both customers and retailers. By contrast, I am not aware of Stripe ever failing to notify retailers that a payment was made or failing to pay retailers in a timely fashion. Save yourself and your customers a bunch of headaches. Use Stripe instead of PayPal.
How to set up and use Stripe
First set up a Stripe account by filling out their form.

Click View your dashboard.
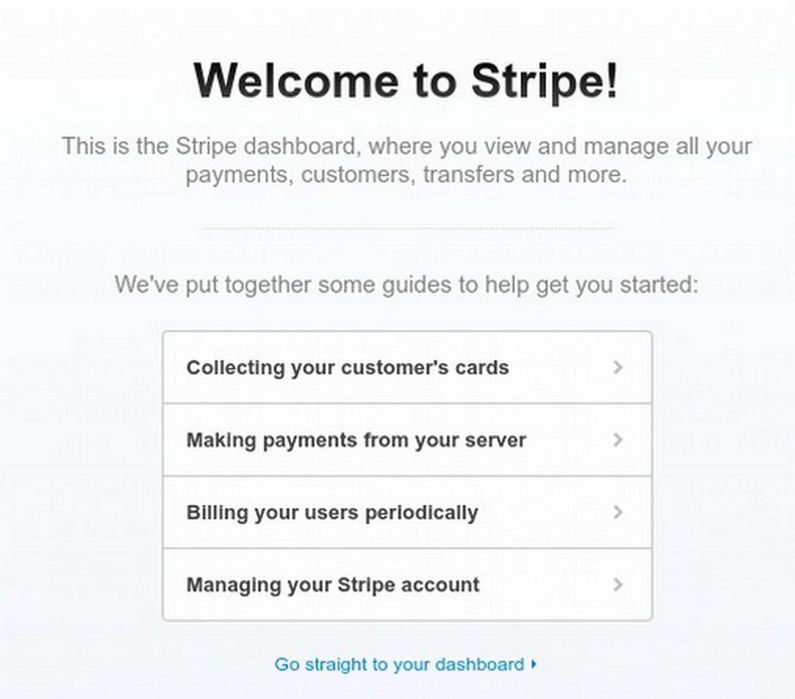
Stripe Tips
Click Managing your Stripe Account.
Every account is divided into two universes: one for testing, and one for running on your live website. All API requests exist in one of those two universes, and objects in one universe cannot be manipulated by objects in the other.
In test mode, credit card transactions are not processed through the actual card networks and only our test card numbers can be used
Related to these universes are your API keys. Each key exists either in the live universe or in the test universe, and this is how Stripe tells what universe you are interacting with. You should only use your test API keys for testing. This will make sure that you don't accidentally modify your live customers or charges.
In addition to live and test mode, there are also two types of API keys: publishable and secret.
Activating your Stripe account
Before activating your account, you can only interact with Stripe in test mode. All of Stripe's features are available in test mode, though no live charges using the card networks can be created.
Activating your account is a simple process: you fill out a form requesting some basic information about your product, your business, and your own personal relationship to your business. Once you've activated your account, you can immediately start using the live API and charge real cards.
Your account details are reviewed internally to ensure they comply with our terms of service. If we see a problem, we'll get in touch right away to resolve it as quickly as possible.
Next click on Your Account, then Activate Account in the top menu to fill out the application to activate your account.
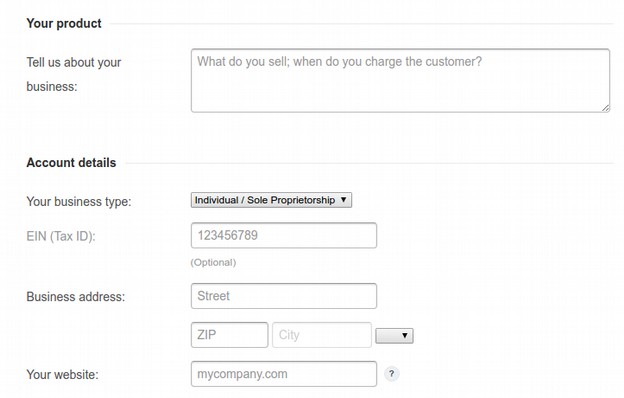
Put in what you are selling like memberships, course fees or campaign donations.
If you have a business EIN number associated with your business bank account, you can enter this. It only takes five minutes to get a business EIN number from the IRS and most banks require this any way to set up your business account.
Then enter the address of your business, which may be your home address. Finally, enter the domain name for your website which should be online and at least partially operational.
Log in with your Google business related Gmail address to verify your identity.
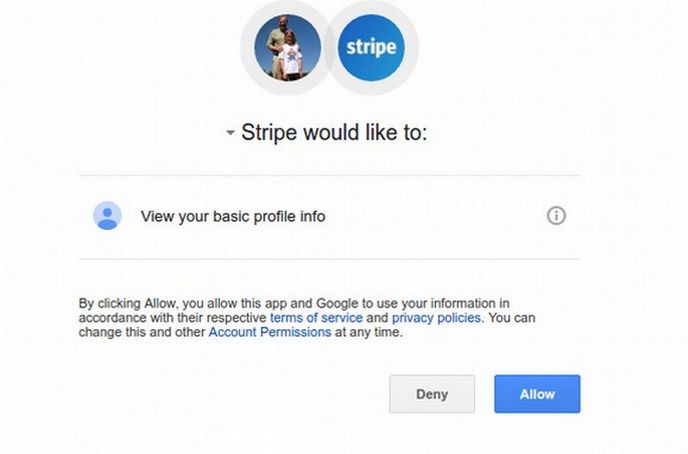
Click Allow. Then put in your Date of Birth and the last four digits of your SS number.
Credit Card statement details section:
For your business name, you can only have 22 characters.
Business Details Section:
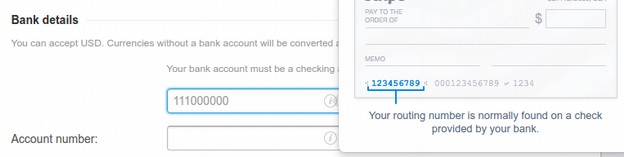
First enter your bank routing number:
Then enter your bank account number:
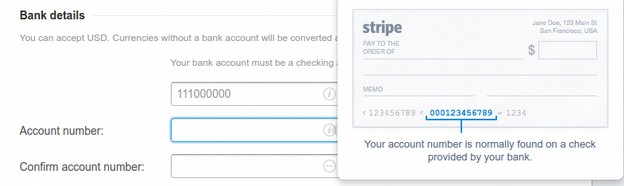
Then enter your bank account number a second time to verify it. Then click Activate Account. It may only take a couple of seconds or a couple of days to verify your account and send you a verification email. You may see the approved screen immediately:
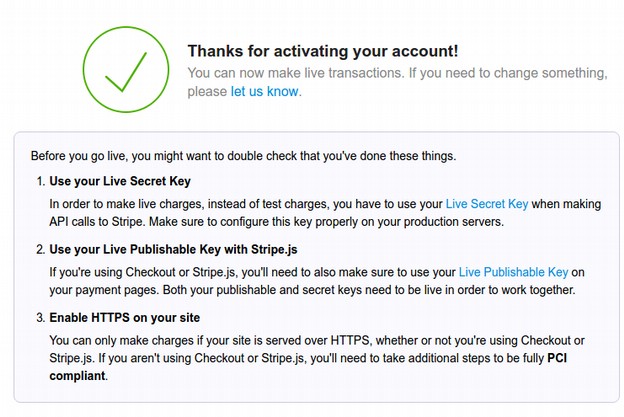
It appears to help if your site is already HTTPS compliant. So do this first. Click on the link to see your four keys.

Click emails:
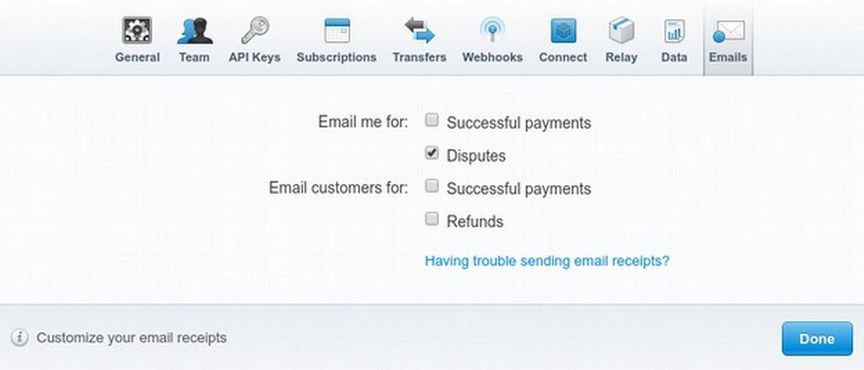
Click Customize your email receipts. Enter the name of your campaign or business to show up on the customer receipt. You can also add extra fields by clicking on Show Extra fields. Then click Done at the bottom of the screen. Note that your Stripe account is still in test mode. We will change it to Live Mode after setting up our Phoca Cart plugin. Then log out of your Stripe account.
Here is the log in page for our Stripe account:
https://dashboard.stripe.com/login
The activation email from Stripe will look like this:
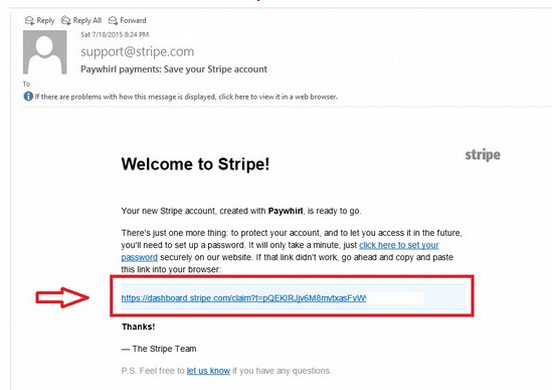
Click the link in your Stripe activation email to finish setting up a Stripe account.
Set up your Stripe Phoca Cart Plugin
Sign in to Stripe dashboard and proceed to Developers > API keys.
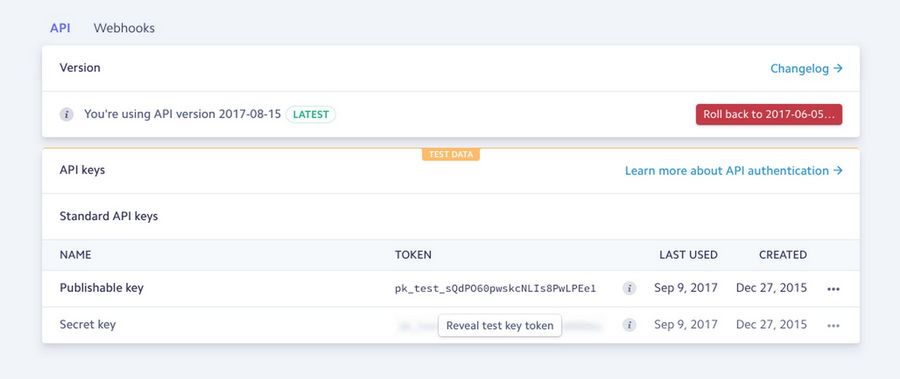
You need API keys for live and test environment. These keys should be added to Phoca cart payment method settings.
Webhooks
Now it is time to set up Webhooks. Proceed to Stripe Dashboard > Developers > Webhooks, then click on Add Endpoint button.
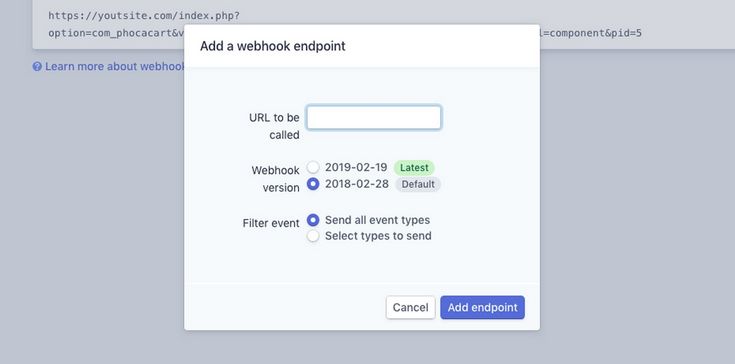
URL to be called: the URL can be taken from Phoca Cart payment method settings (see below).
Webhook version: set the latest version.
Filter event: set Send all event types.
The Webhook has been created. Now click on it and you will get its settings:
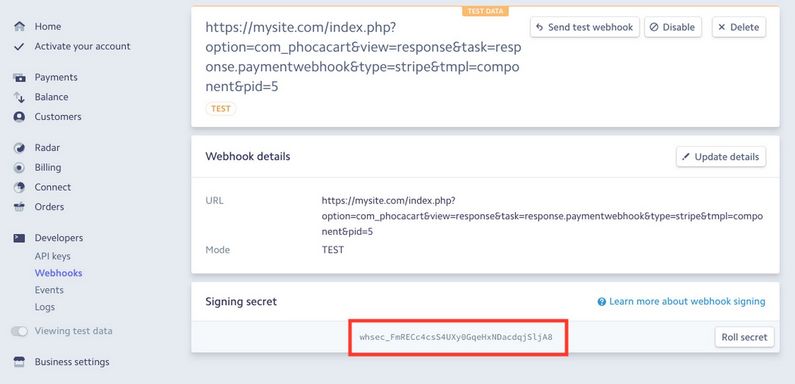
Find Click to reveal button and copy the Webhook Secret for further usage in Phoca Cart payment method.
Plugin installation
Stripe for Phoca Cart can be installed as a typical Joomla extension. Make sure you have downloaded the latest version of the plugin. Proceed to Administrator panel > Extensions > Manage > Install and select the package downloaded from NorrNext site. Then go to plugins and enable Stripe for Phoca Cart plugin.
Add a new payment method in Phoca Cart
There are several tabs with settings. Let's look on each tab starting with the General Options tab.
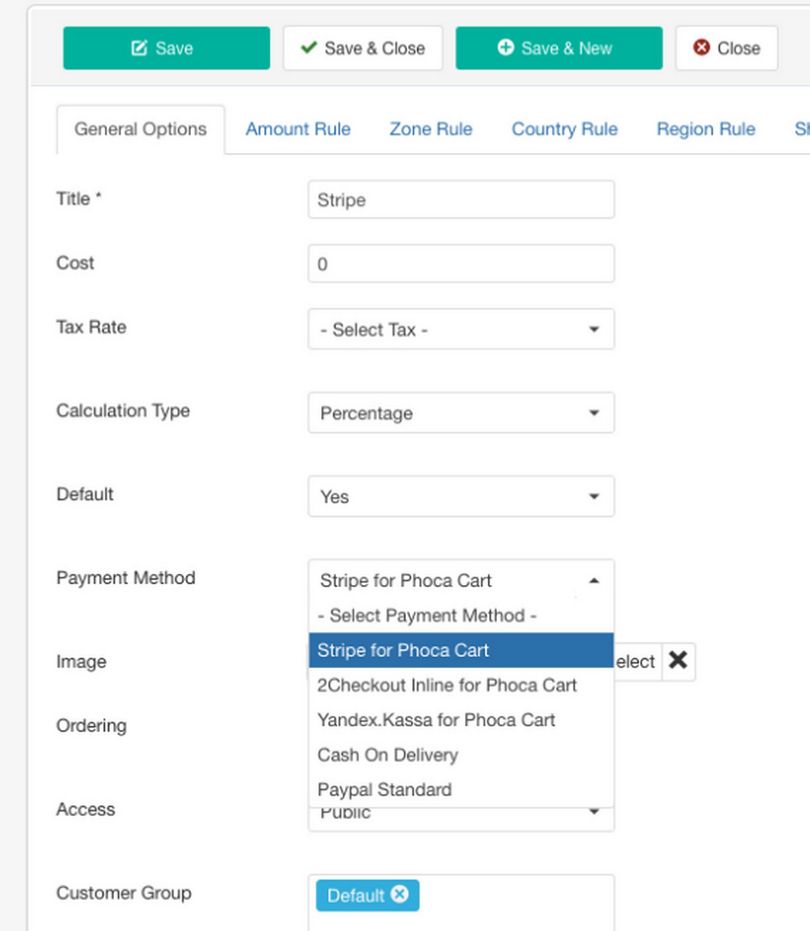
Title - Payment method title
Cost - Set Shipping cost. E.g. 2€ for packing
Tax Rate - select tax rate (to be created at Taxes section)
Calculation Type - set calculation type (Percentage or Fixed)
Default - set this payment method as default (Yes / No)
Payment Method - Select Stripe for Phoca Cart value
Image - set up image for this payment method (2CO logo)
Ordering - set item ordering
Access - The access level group that is allowed to view this item
Customer Group - set Customer Groups this payment type is available to
Skip the Amount Rule to shipping rules tabs
Payment Method tab
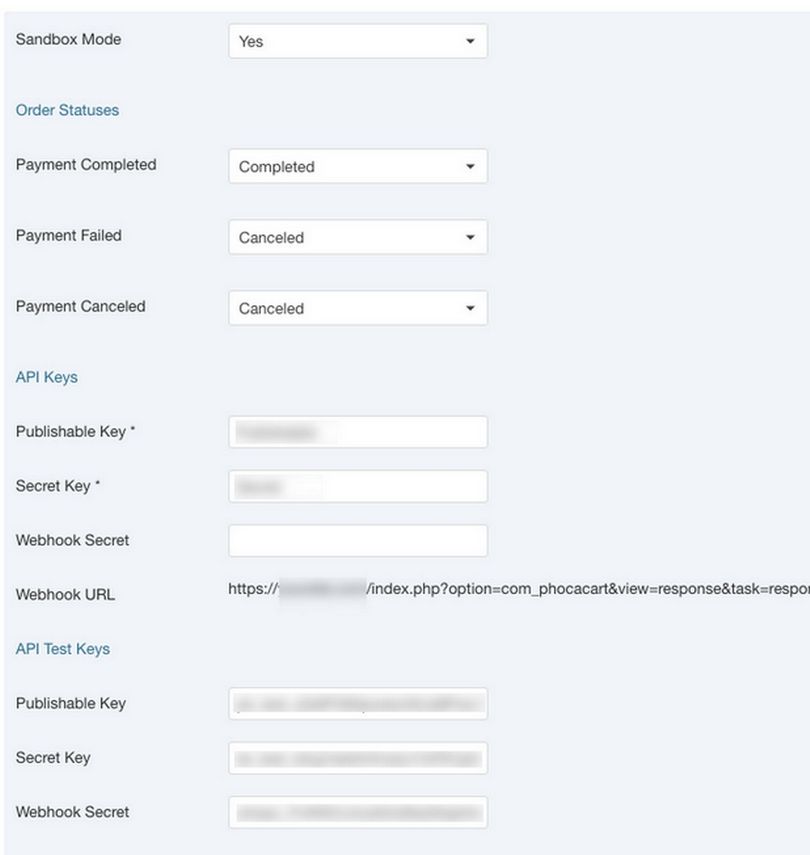
Sandbox Mode - If Sandbox Mode is enabled, no real money are transferred. Sandbox is used to test the payments.
Order Status
Payment Completed - Select the order status that will be applied based on successful payment transaction result. By default it is Completed
Payment Failed - Select the order status that will be applied based on failed payment or error during transaction processing. By default it is Canceled.
Payment Canceled - Select the order status that will be applied based on canceled payment or error during transaction processing. By default it is Canceled.
API Keys
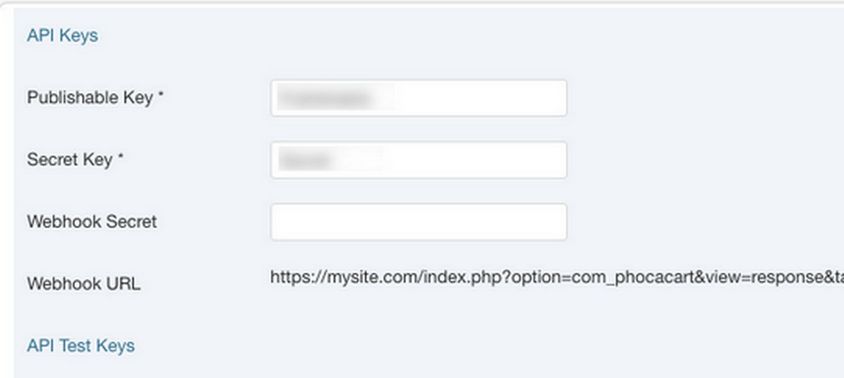
API Keys and Webhook settings
Publishable Key - Set your Publishable Key. You can find it in Stripe Dashboard > Developers > API keys.
Secret Key - Set your Secret Key. You can find it in Stripe Dashboard > Developers > API keys.
Webhook Secret - Set your Webhook Signing Secret. You can find it in Stripe Dashboard > Developers > Webhooks.
Webhook URL - a URL to paste in Stripe dashboard.
Where to get the Webhook URL
Go to Administrator Panel > Components > Phoca Cart > Payment and click on Stripe. Then click on "Payment method options" tab and find Webhook URL line. Copy this URL to the clipboard.
Then go to Stripe dashboard > Developers > Webhooks and click on Add Endpoint button. Paste the URL, and try the latest Webhook version. Save it. Now you can make a test payment to check out how it works.
Example:
Where is mydomain.com - set up your domain and make sure you have a valid SSL certificate. You need to copy this URL and paste it in Stripe dashboard > Webhooks.
Note: API keys are required fields to save the configuration. Fill them if even you are going to use sandbox mode.
API Test Keys
Publishable Key - Set your test Publishable Key. You can find it in Stripe Dashboard.
Secret Key - Set your test Secret Key. You can find it in Stripe Dashboard.
Webhook Secret - Set your Webhook Signing Secret. You can find it in Stripe Dashboard > Developers > Webhooks.
Download Key tab
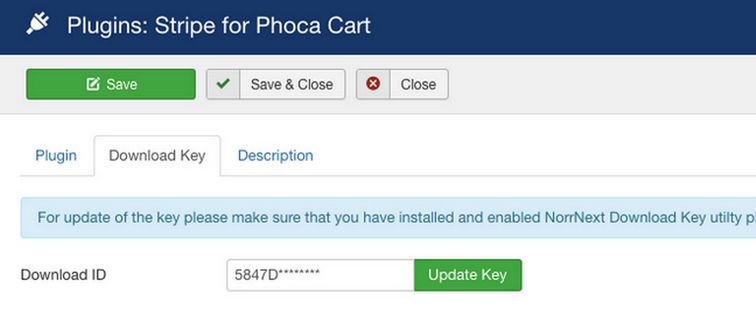
This feature allow to get an update of the plugin via back-end in few clicks. Set your download key to enable the update using Joomla! Update System. You can find the key in your Stripe for Phoca Cart subscription on the NorrNext website.
If you set the key for the first time or have changed it, please click on the Update Key button to save it for Joomla! Update System.
Read official tutorial: How to enable one-click update for NorrNext commercial extensions
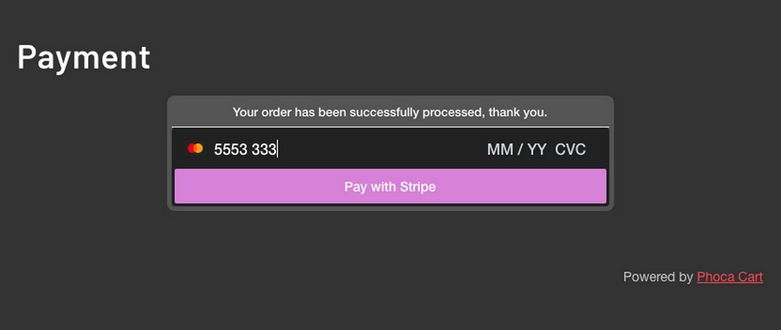
Payment Template Customization
You can change colors and design of the plugin using template overrides in Joomla.
The path to the files: /plugins/pcp/stripe/tmpl/ Here are the folloing files: elements_style.php and stripe.php which can be customized via the template override.
You can create an override in templates/your_template/html/plg_pcp_stripe/elements.php and change the style in it. It uses stripe.com/payments/elements so you can choose from existing examples. If you open elements.php file, you will see which CSS classes are defined and can be used.
Custom templating is what the client should do personally.
How to change "Pay with Stripe" text:
Go to Languages > Language override and make an override :
Language constant:
PLG_PCP_STRIPE_BUTTON_TEXT
Text: Pay with Stripe (write your own text here)
Add custom CSS to your Joomla template:
.stripe-payment-form .card-container {background-color:#222}
.stripe-payment-form fieldset {background:#555}
.stripe-payment-form fieldset legend {color:#fff}
Open elements_style.php and change color: "#32325D", to color: "#999", You will get the following result:
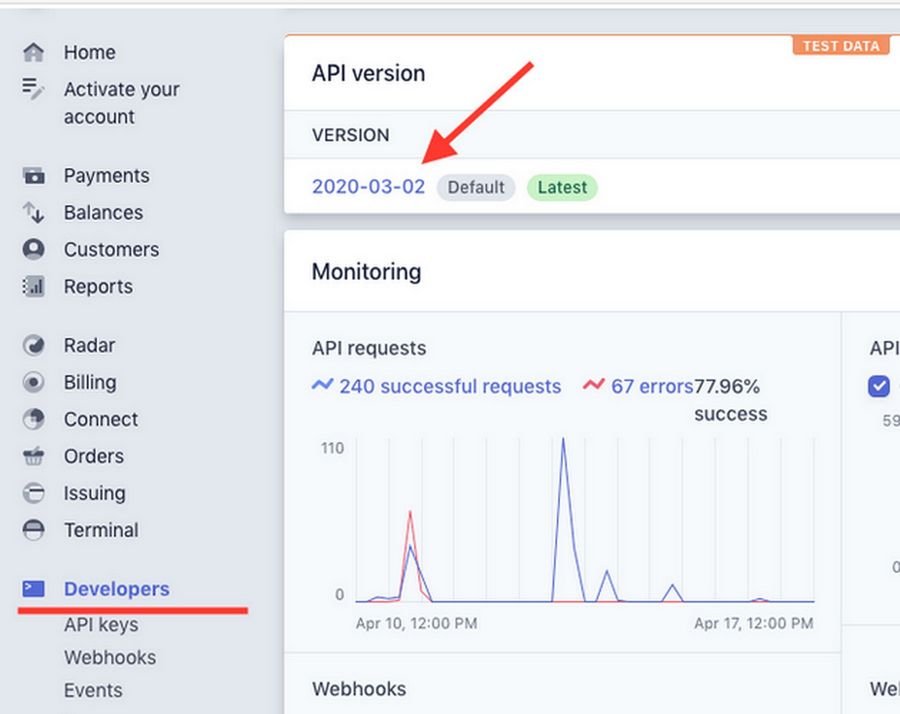
Steps to Update Your Stripe API Version
Sign in to your Stripe Dashboard. Proceed to “Developers” Find the first box labeled as “API Version”. If an update is available, the button at the top right of this box will be active. Click to upgrade your API Version.
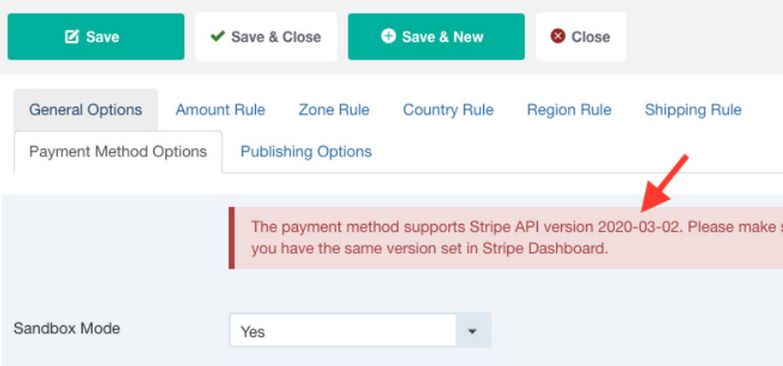
To see the supported version look here:
Note: Make sure your Stripe API version is identical to API used in the payment plugin! If you see there is a new Stripe API version available in the dashboard and your plugin uses the previous version - do not upgrade Stripe API. Instead, await the new version of the plugin which will include an update of Stripe API.
For more information, see this page:
https://www.norrnext.com/docs/phoca-cart-add-ons/stripe-for-phoca-cart
What’s Next?
In the next chapter, we will review how to customize the Phoca Cart Shop forms.