
One of the most important steps in creating an online store is setting up your shop product and services categories. While categories can always be changed later, setting up your initial categories should be done before adding products because every product should be assigned to one or more categories. In this section, we will review the process for creating product categories. Then in the next section, we will review the process for adding Products to those categories.

Help Your Customers and Think Like a Search Engine
When your customer visits your online store for the first time, they likely arrive after doing a search for a product with a search engine. Search engines in turn like a well organized website that has placed products into unique product categories. How you can help your customers is by placing your product categories in plain sight by showing your product categories in a top level menu. Categories are also important in the back end of your website. After you create categories, you create folders for each category on your home computer. Eventually, we will create identical folders for our products or services in our website back end file manager. We will also create identical product categories for our product images. And we will also create identical menu items for all of our categories.
Phoca Cart Sample Data Categories… Brands versus Function
Phoca Cart Sample Data comes with six categories of food. Baby Food has six flavors all from a brand called Batella. The Chocolate Bar category has six flavors of chocolate bars all from a brand called Coefi. The Candies category has six flavors of candy all from a brand called Frooth. The Fruit Juice category has six flavors from a brand called Juui. Lemonade is only from the Weyne brand and Chewing Gum is only from the Weyne brand. But dividing products up among brands is only a good idea if buyers are looking for a brand first and product model or flavor second.
If you visit an online clothing store, products are nearly always divided up first by gender and second by function. There will be a category called Womens Clothing and a category called Mens Clothing. Then Mens Clothing parent category will have child categories called Shirts and Pants. Shirts in turn may be further divided into Long Sleeve and Short Sleeve shirts. The brand is practically irrelevant.
Online clothing stores will also have a category called Sale where discontinued items are offered at a discounted clearance price. They may also have a category called New Products and a category called Favorites to feature some of their most important products.
One of the biggest mistakes is to place too many products in the same category. Forcing customers to scroll through 100 items to find what they want may cause the customer to leave and shop somewhere else. Whatever system you create to organize your products, you should give it some thought so you can help your customers find the product they are looking for as quickly as possible.
Use Free Products to Increase Traffic to your Website and Build a Customer Email List for your Store Newsletters
The most important thing we can learn from search engines is to offer your customers a free service that they will want, use and tell others about. All online stores should therefore have one or more categories for free products and services. Ideally, these free products and services should not have a significant ongoing cost to your business.
Step 1: Create Your Categories… Our Demo Store Categories
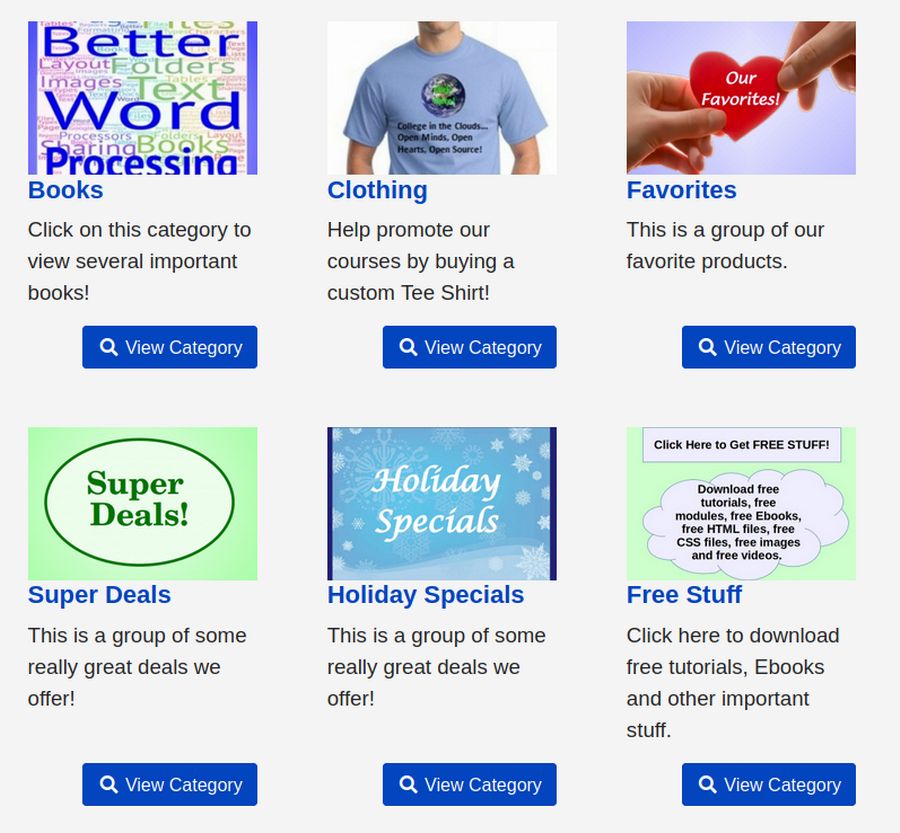
In order to demonstrate how to set up categories for an online store, we will unpublish the Phoca Cart Demo categories and create two new product categories called Books and Clothing. Neither Books or Clothing will not have a sub-category. We will also set up four special categories: Free Stuff, Favorites, Holiday Specials and Super Deals. This is how these categories will be displayed in our store:
Step 2: Create Your Category folders on your Home computer
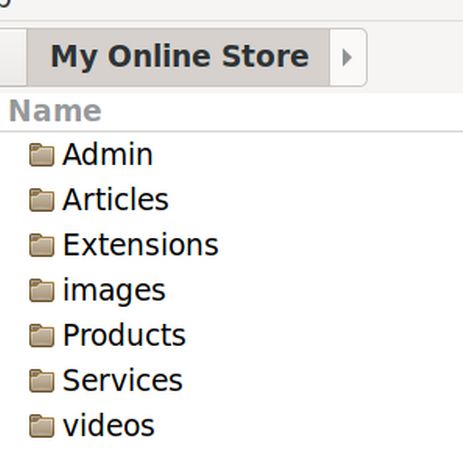
In the Home folder of your computer, create a new folder called My Online Store. Inside this folder, create 7 folders called Admin, Articles, Extensions, images, Products, Services and videos.
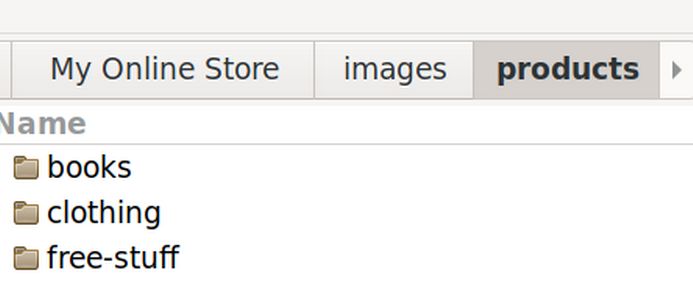
Then open your Products folder and create folders called Books, Clothing and Free Stuff.
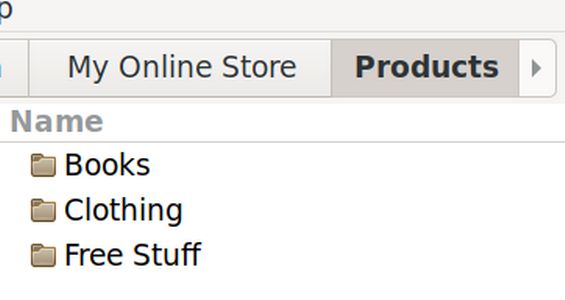
In the next section, we will place products with images and descriptions in each of these three product categories.
Next, click on My Online Store and then click on the images folder. It is important that all images and images folder use names with lower case letters and no spaces. Create 4 folders called category-images, free-stuff, products and services. The category images folder will hold images for all of our product categories. The services folder will hold images for all of your services (which are items you sell which are not products).
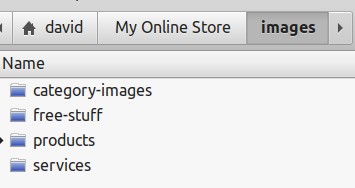
Open your products folder and create folders called books, clothing and free stuff:
We will create and place our images for these product categories in these product images folders in our next article.
Step 3 Use Libre Draw to Create Your Category Images
Each category should have its own image. While you may find images online or take images with your camera or phone, here we will review the steps for using Libre Draw to create category images. We will create a category image for our Free Stuff category.
Open a new Libre Draw document with File, New Drawing. Give the drawing a file name with File, Save As. Then type in Free Stuff. Then click on the Home folder and click on My Online Store Folder. Then click on the images folder. Then click on the category-images folder and save this file in your category images folder. Next, click on Page, Properties, Page tab. Change the Orientation from Portrait to Landscape. Then click on the Background tab. Click Color and choose or create a light background color. Then click OK.
Then insert a couple of shapes and type text into the shapes. Click on each box and change the background color to a lighter color so the text will be easier to read. Then select the text for each box and increase its font size and perhaps make it a different font family. Take a screen shot with a huge border around it and paste it in a Libre Writer document.:
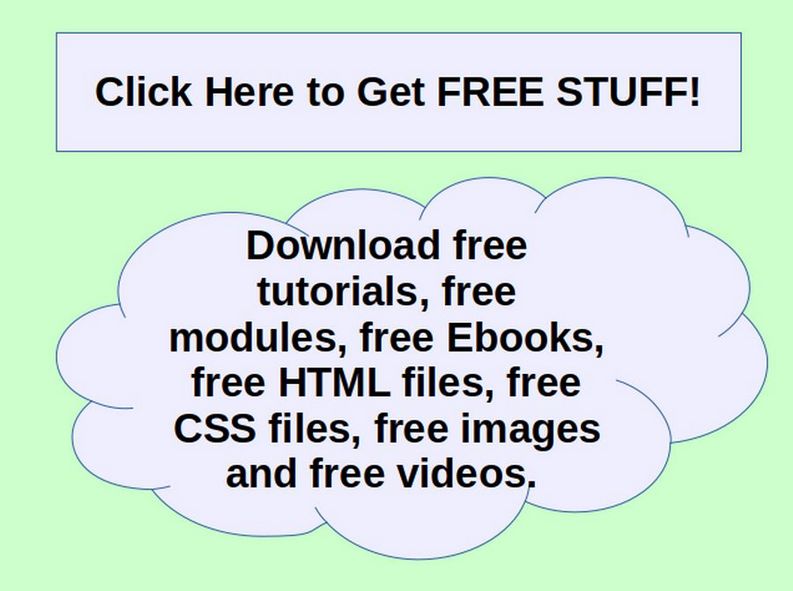
Then right click on the image and compress it to a 150 resolution. Right click on it again and change its anchor point to Paragraph. Then right click again and save the file as free-stuff.jpg in your images/category-images folder.
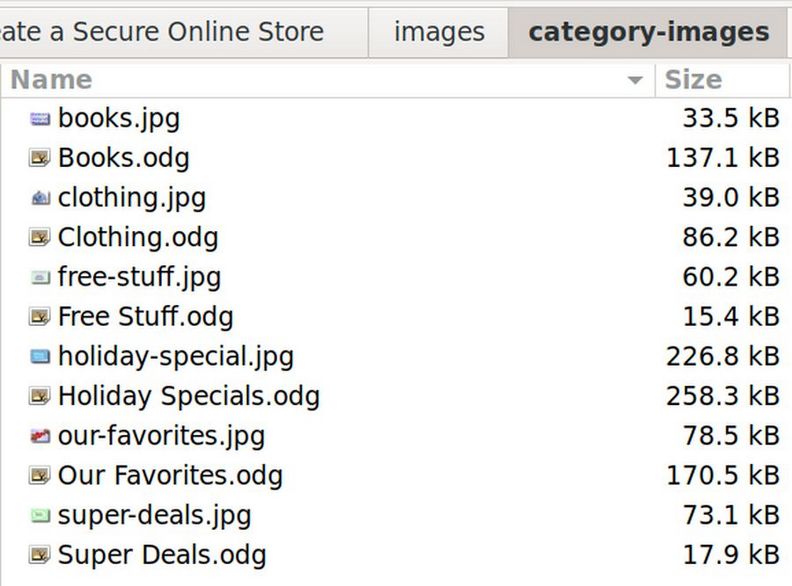
Hopefully the image will have a size of less than 100 kB. Repeat this process to create category images for all of your product categories (ie Books, Clothing, Favorites, Super Deals and Holiday Specials). Here is what the category-images folder should look like when you are done:
Add your Category Images to your website Media Manager
Log into your Joomla control panel and click Content Media. Then click on the phocacartcategories folder to open it.
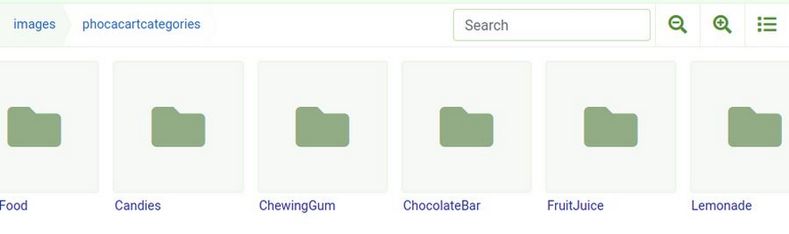
Open the Candies folder to see the category image and notice that a thumbnails images folder has also been created that holds three different sizes of category images. But do not create any new category folders! Instead, we will use the Phoca Cart Category creation process to allow Phoca Cart to automatically create thumbnail images for us.
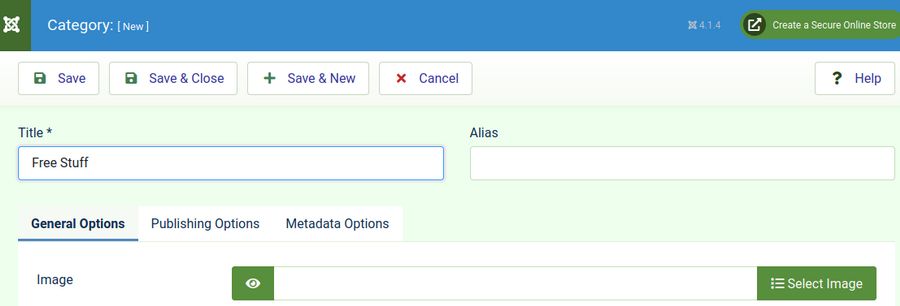
Create a New Phoca Cart Category
Click on Components, Phoca Cart, Categories, New. Give the category a title Free Stuff:
Then click on Select Image.
Note: While with Joomla articles, you load the images first and then create a new article, with Phoca Cart categories and Products, you create the category or product first and then add the image directly to the category or product. During the Phoca Cart process, you can also create images folders for your Categories and Products. The reason for this change in order is because when you load a category or product image directly to the product or category, Phoca Cart will automatically resize it to a consistent size and create a consistent thumbnail image of it. So please allow Phoca Cart to add images for you rather than loading them yourself.
When you click Select Image, this screen will appear:
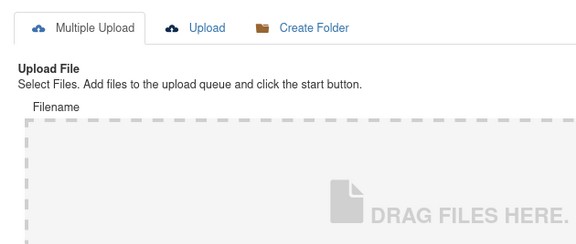
Above this area are six folders – one for each of the six Demo Categories. Click on Create Folder. Then create a folder called free-stuff.

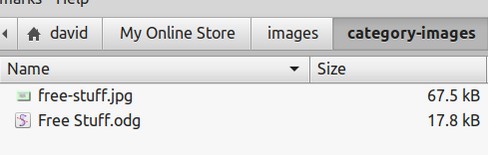
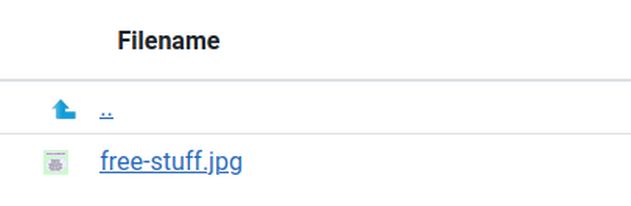
Then click Create Folder. Then click on the free-stuff link to open the free-stuff folder. Then click Upload. Then click Browse. Select the free-stuff category image on your home computer file manager. Then click Start Upload.
While you can drag images into the box, it is more precise to click Upload and select the category image by navigating to your website images/category-images folder. When you are done, the image will appear in the screen above the Image Loading tool:
Click on the free-stuff.jpg image to select it. Phoca Cart will flash a yellow window telling you that it created thumbnail images of this image. It will then go back to the previous screen confirming that the image was loaded.
Then give the category a very short description (see below) and click Save and Close. In a later section, we will show you how to create a Free Stuff Product Label and in a later chapter, we will show you how to set up a Downloads tool for your online store.
Repeat this process to add new categories for Books, Clothing, Favorites, Super Deals! And Holiday Specials.
Our category descriptions: Click here to download free tutorials, Ebooks and other important stuff.
Click on this category to view several important books!
Help promote our courses by buying a custom Tee Shirt!
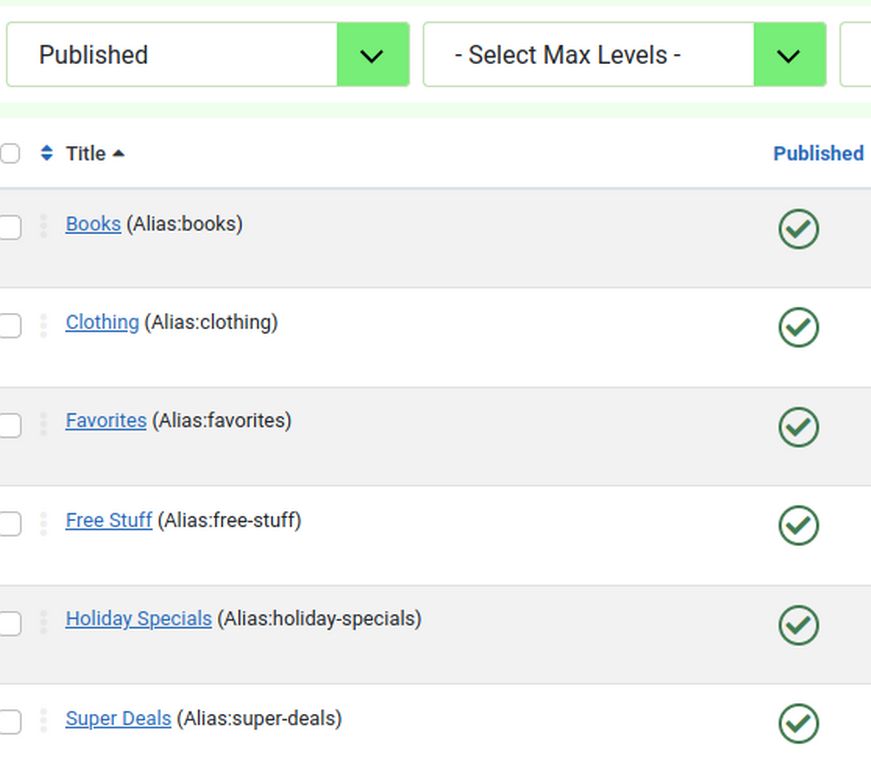
Unpublish but do not delete the existing Demo Categories and Products. Then filter published Categories. Below are our new online store categories:
What’s Next?
In our next section, we will review how to add products to these categories.