
In this section, we will review how to add a shop welcome article, how to improve the purchase success thank you message and how to add your shop address, shop logo and shop contact information to the standard Phoca Cart forms.
Step 1: Create Shop Welcome article
By default, there is no Welcome article that appears on the shop Home page. It just shows a bunch of categories with no explanation of what the shop is about or why customers should buy products from us. We have already created a Welcome article for the Home page of our website. But we also need a Welcome article for the Home page of our online store. To address this problem, we will create the following article as a normal Joomla article:
Title: Welcome to our Phoca Cart Demo Store!
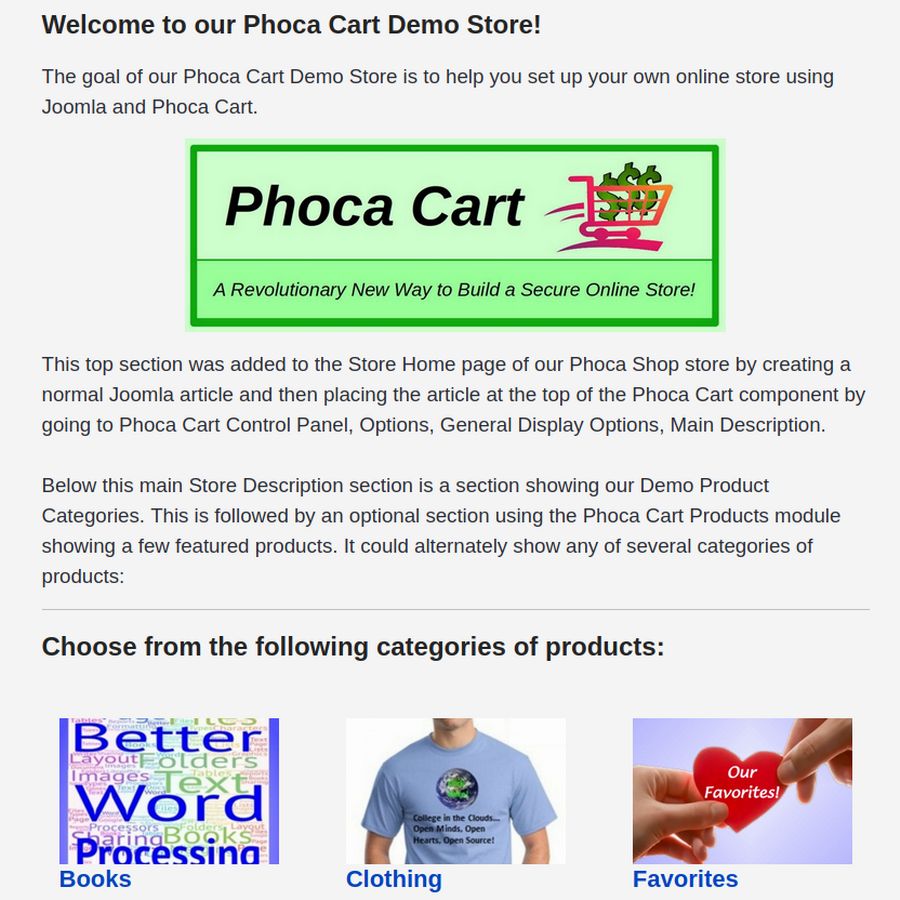
Because the Shop Welcome article title is not shown on the Shop Home page, we also need to place the title at the top of the article in bold large letters:
Welcome to our Phoca Cart Demo Store!
The goal of our Phoca Cart Demo Store is to help you set up your own online store using Joomla and Phoca Cart.

This top section was added to the Store Home page of our Phoca Shop store by creating a normal Joomla article and then placing the article at the top of the Phoca Cart component by going to Phoca Cart Control Panel, Options, General Display Options, Main Description.
Below this main Store Description section is a section showing our Demo Product Categories. This is followed by an optional section using the Phoca Cart Products module showing a few featured products. It could alternately show any of several categories of products:
<hr />
Choose from the following categories of products:
<hr />
Before transferring this article to the Joomla Articles table, save the Phoca Cart image to your home computer file manager as shop-welcome-01.jpg. Then upload it to your Joomla Media Manager. Then click Content, New Article and copy paste the article. Replace the image place holder text with the image and replace both <hr /> with a horizontal line (icon in the JCE editor). Then click Save and Close.
Once your own custom Welcome article is done, go to Phoca Cart Options, Display tab and scroll down to General Display Options.
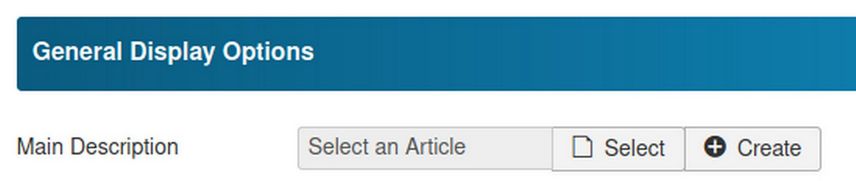
Choose Select and select your Shop Welcome article. Then click Save and Close. Then view the Shop to see the result:
Because the Shop Welcome Article is a normal Joomla article, you can further edit this article whenever you want.
Step 2: Replace the Product Order Success message with a custom Product Order Success Message
Go to Phoca Cart Options Display tab and scroll down to Info View :
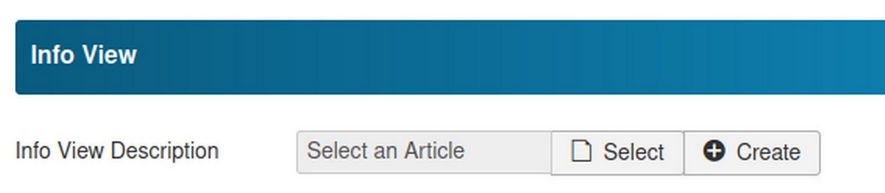
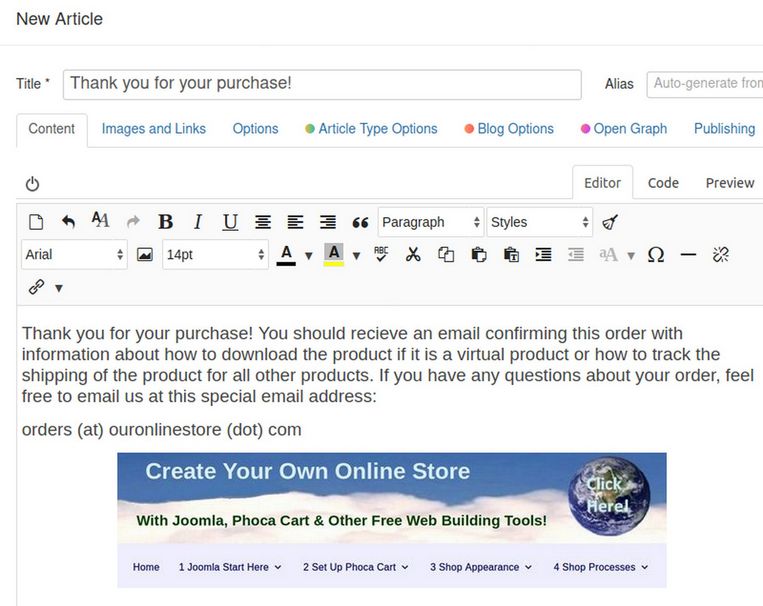
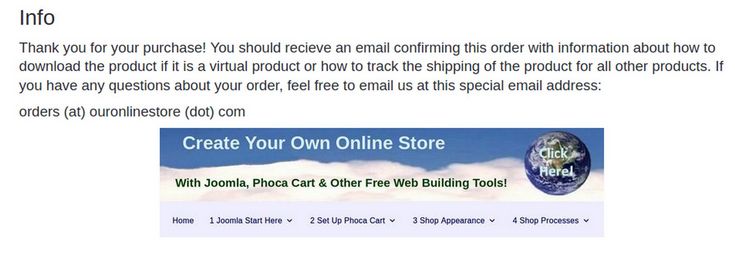
Click Create. This will open a new Joomla article edit screen. Copy and paste the following (or make up your own content):
Thank you for your purchase! You should receive an email confirming this order with information about how to download the product if it is a virtual product or how to track the shipping of the product for all other products. If you have any questions about your order, feel free to email us at this special email address: orders (at) ouronlinestore (dot) com
Then click Save and Close. Then on the Options screen, click Save and Close. Then in the shop, place a new order to view the result.
Step 3: Do a Language Override to Replace the word Info with Thank you for your purchase!
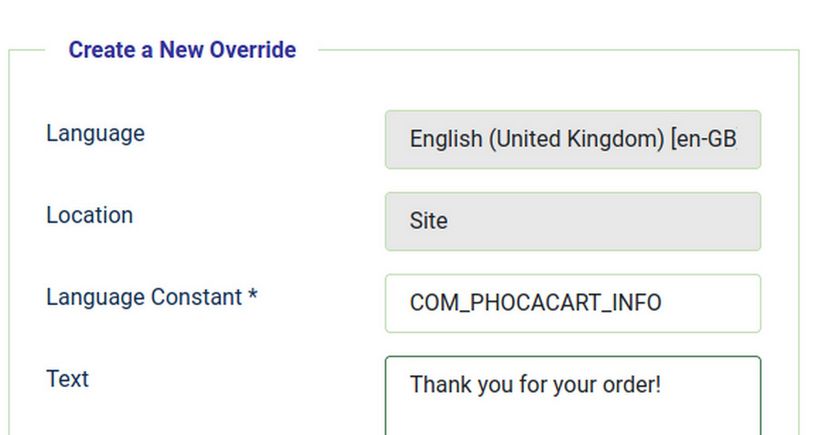
Unfortunately, the title of the article was not shown on the Order Success screen. Also the sentence “Your order has been successfully processed, thank you” is still shown at the bottom of the page. We will therefore have to do a language override for the word Info. Go to System, Manage, Language Overrides. Then select English, Site. Then click New. Enter the word Info into the Search box. Then scroll way down the page to COM_PHOCACART_INFO with the value Info. Click on it to select it. Then change the text from Info to Thank you for your order!
Then click Save and Close and place another order to see the result:
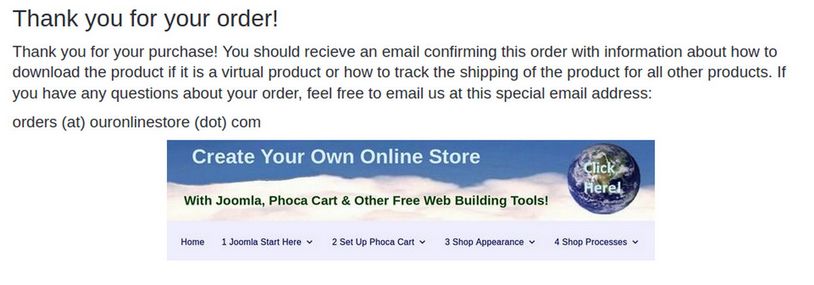
Note that the default sentence “Your order has been successfully processed… “ no longer appears on the Order Success page. Look in your Joomla articles table and you will see that this Thank you for your order article is a standard Joomla article which you can further edit whenever you want.
Step 4: View the current Order Confirmation Forms
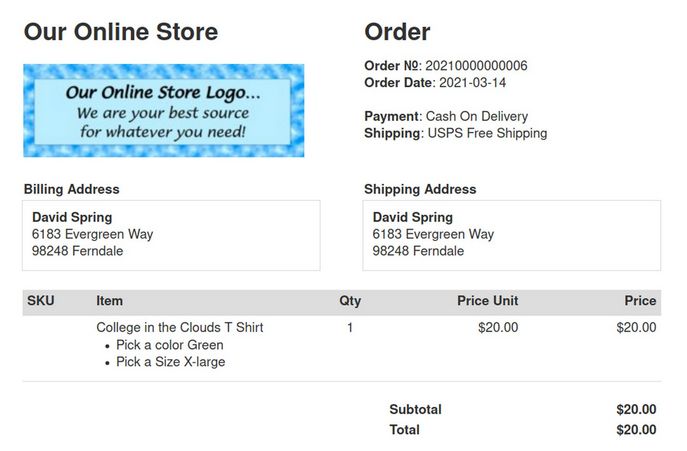
Go to Phoca Cart, Orders and click on the View Order icon in the Action column for a recent order.
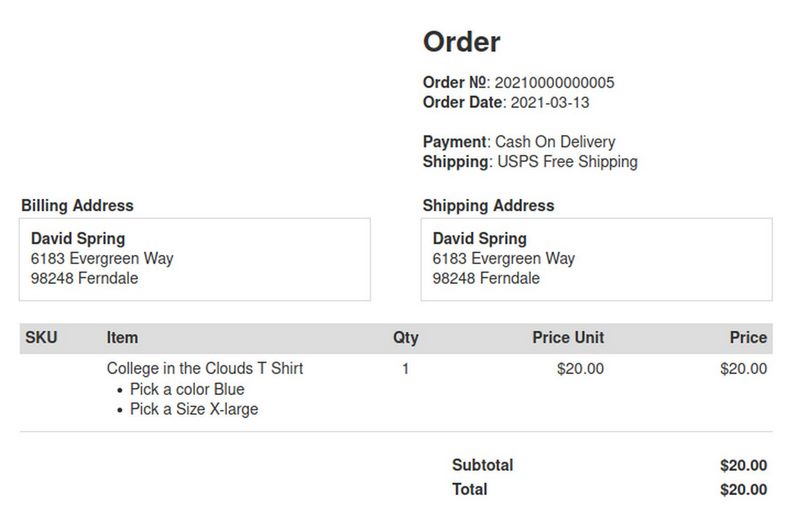
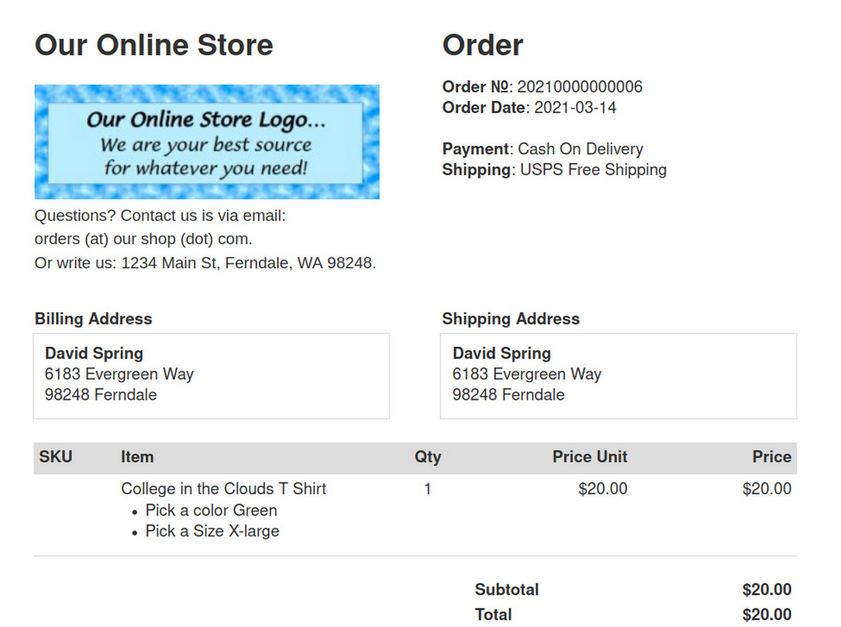
Note that the Order form is missing our Shop logo and Shop Address. Click on View Invoice
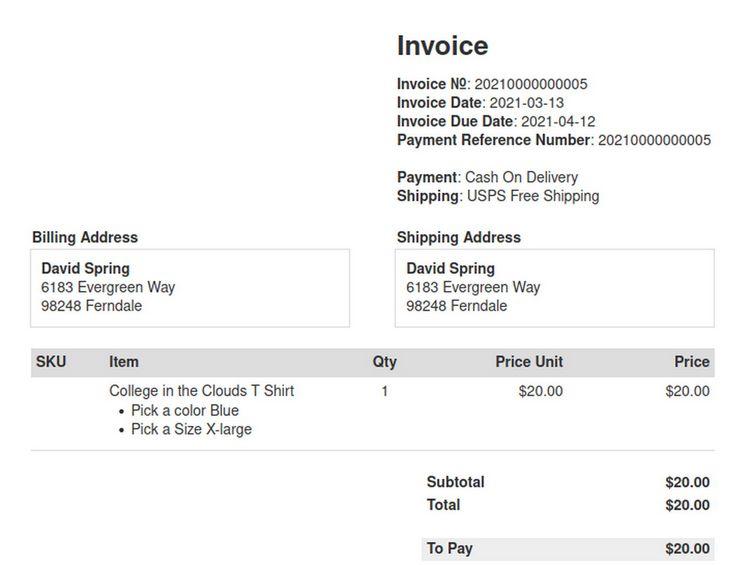
The Invoice form is also missing or shop logo and address. Then click on View Delivery Note
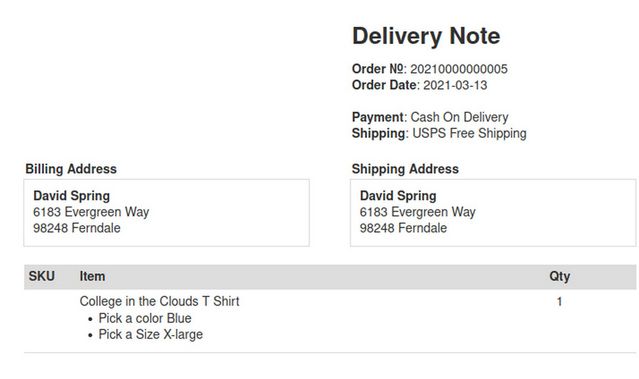
All three forms are missing our Shop Name, Logo and contact info.
Step 5 Create a Custom Shop Logo
We will use Libre Draw to create a shop logo that is 300 pixels wide by 100 pixels tall. Then optimize the image with Libre Writer. Then Save the image as logo.jpg. Then resize and crop the image with a Linux tool called Gthumb. Then save the image again as logo-100x300.jpg. Then load this image to your Joomla Website Media folder. Then select the image in Options, Store tab, Store Logo. Here is the result of adding our shop name and a shop logo:
The order form and invoice form now show our Store name and logo, but do not provide our shop address or other contact information. We therefore need to add an article to provide this information. Go to Options, Store and click on Store Information, Create.
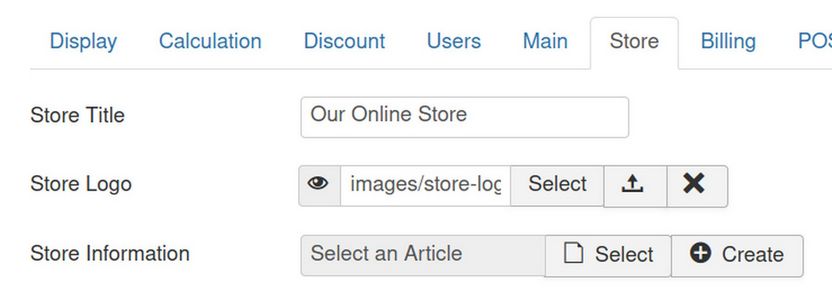
This will bring up a new Joomla article. Call it Store Information. Add your email address and store address. Then click Save and Close. Then go back to Orders and click on the Order form.
Step 6 Move the Store Information from the logo area to the bottom of the form
To delete the Shop Information from the logo area, go to Options, Store tab and for Store Information, click Clear. Then to add the same article to the bottom of the Order form, go to Options, Billing tab where we can replace various parts of the default forms with our own content. Invoice, Order and Delivery Note each have their own Top, Middle and Bottom sections.
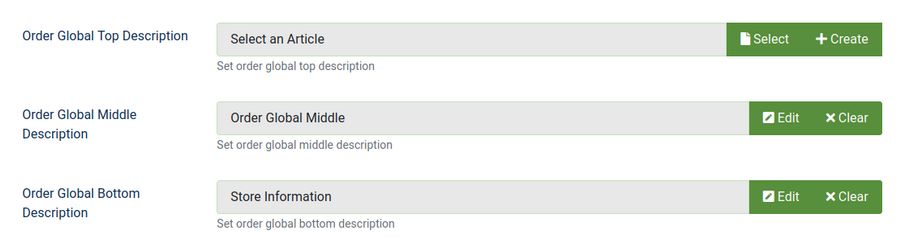
For Order, Global Bottom, click Select to select an Article. Then select Our Shop Information. Then click Save and Close. Then click on an Order to view the Order form.

Location of Top, Middle and Bottom Description
The Top Description area is below the Billing Address and above the Item area. The Middle Description area is below the Item area and above the Bottom Description area.
Step 7 How to Add Custom Images to the default forms
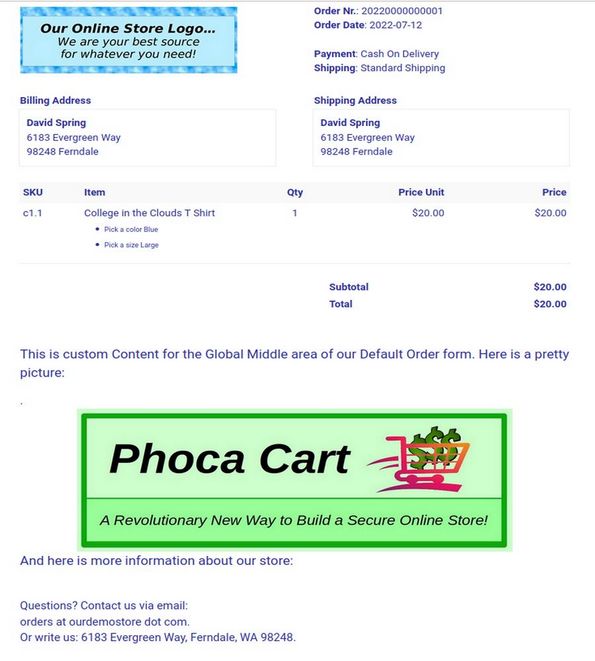
You can add images to the Order, Invoice or Delivery Note forms. However, the JCE Editor is set to insert relative URLs for images and email or PDF forms require absolute URLs. We therefore first need to change the JCE Editor from Relative URL to Absolute URL. Go to Components, JCE Editor, Editor Profiles, Default Editor, Editor Parameters tab and change URL conversion from Relative to Absolute. Then click Save and Close. Then go back to Components, Phoca Cart, Options, Billing and for Order, Global Middle, click Create to create a new article. For Title, type Order Global Middle. Add some text and an insert an image. Then click Save and Close to close the article. Then click Save and Close to close the Options section. Then go to an order and view the custom order form.
Step 8 Add US States to Order and Invoice Forms
The billing and shipping addresses on the Order and Invoice forms are not correct US addresses. The State is missing and the zip code is on the beginning of line 3 when it should be on the end. Part of this problem is related to how our form fields are in the wrong order on the Checkout page:
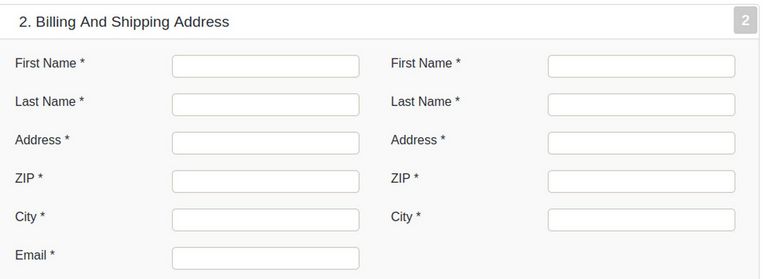
Note that the ZIP appears before the City. To fix this problem, go to Phoca Cart, Form Fields.
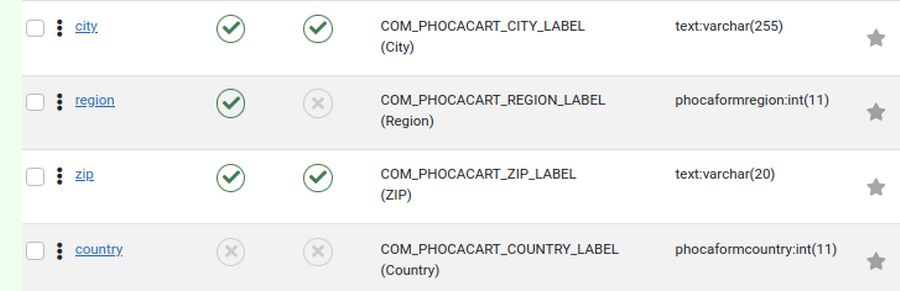
Then click on the arrows in the upper left corner of the table to sort the fields. Then move the City above the Zip code. Also publish the region but not the country and make the region required:
Then reload the Checkout Page to verify that these fields are now in their correct order.

This fixed the field order on the Checkout page but did not fix field order on the Order form. In addition, we need to change the name of the Region field to the US State field.
What’s Next?
In the next article, we will review how to change the name of the Region field to State on our Checkout page and order form. We will then review how to change the order of the Zip field on our Order form so that the zip code is shown after the City and State fields.