
Previously, we have covered how to create a secure Linux computer and how to create a Debian 11 VPS with the Hestia Control Panel. In this article, we will point our domain name from Canhost to our VPS IP address. We will then create a new Hestia User and install our domain name on the new user account. We will then use Hestia to create a database and use the Hestia File Manager to create a Joomla 4 website.
What exactly is Joomla, Who Runs It and Why are we using it instead of Wordpress?
The word Joomla is Swahili for “All Together”. Joomla is an open source community project – meaning it is not controlled by any private company. Joomla gives regular people a simple way to control all of the functions of a PHP based website (a website with a database) without any knowledge of PHP programming. Joomla is an international program meaning that one can build a Joomla website in more than 60 languages. There are literally millions of Joomla websites worldwide with thousands of new Joomla websites being built every day. Joomla is developed entirely by volunteers - an active international community of thousands of computer programmers who give freely of their time to create and continuously improve Joomla making it the world’s best open source web building platform.
Joomla offers five key benefits over Wordpress.
#1 Joomla helps you build a better organized website
First, the Joomla web building process results in websites that are better organized than Wordpress website. As your website grows, and as you post more articles and images, all Wordpress websites eventually turn into a giant mess often with hundreds of posts – all on the Home page! This is because Wordpress organizes posts and images by date. This may be appropriate for a simple blog. But it is a disaster for an educational website or a business website.
Joomla allows you and even encourages you to organize your content and images by categories or topics. This simple difference results in much better organized business and educational websites.
#2 Joomla helps you build a more secure website
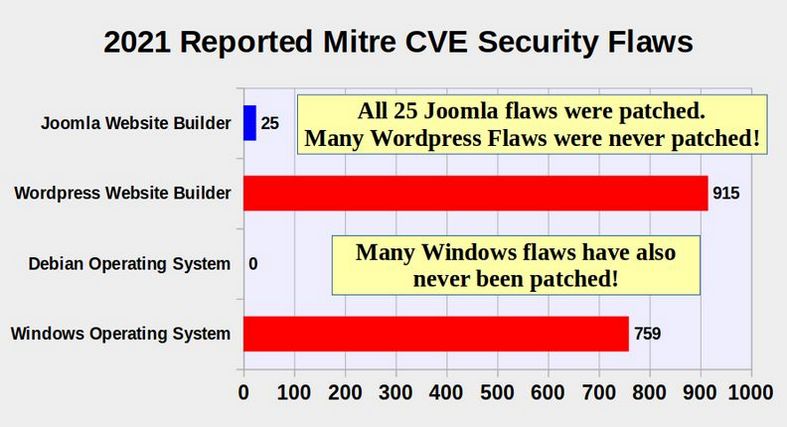
The second difference is equally important. Wordpress is a top down corporation that pays little attention to security processes. As a result, Wordpress websites are considered a Hacker Heaven. By contrast, Joomla is a bottom up community that cares very much about website security. This difference becomes obvious when looking at security vulnerabilities. Here is a graph comparing Wordpress to Joomla and Windows to Linux Debian:
#3 Joomla offers better free extensions than Wordpress
There are two different kinds of website extension makers. Those that are concerns merely about short term profit will migrate to Wordpress because they currently have the most market share. Making money is not a bad thing. But it should not always be the most important thing. There are a few website extension makers that are concerned about their long term reputation and the security of the underlying code. They like to develop tools for Joomla because their customers will be more secure in the long run. Just look at the graph above to see why!
The most important web building tool important to online businesses is an online shopping cart. A Joomla developer called Phoca offers a free shopping cart called Phoca Cart that is in my opinion the best coded and most well structured shopping cart in existence. There are many other excellent and free shopping carts in the Joomla Extensions directory. We will review some of the best extensions in a coming article.
#4 Joomla offers better free Templates than Wordpress
Joomla templates are similar to Wordpress themes in that both are using to control the appearance of your website. The basic Joomla 4 template, called Cassiopeia, is not very flexible. However, there is a free Joomla template called Helix Ultimate that makes it very easy to control every aspect of the layout and appearance of your website. In addition, the Helix template comes with a Mega Menu creation system that is one of the easiest and most powerful in existence.
#5 Joomla is a More Complete Website Building Tool
It is slightly easier to build a website with Wordpress. However, this is because Wordpress is missing dozens of important features. One is Menu Item Types. When creating a Joomla Menu Item, the first thing you need to do is decide which menu item type you want to use. There are dozens of types – the most common of which we will describe in a later article. Wordpress is simply missing this feature.
Also if you have employees, staff or club members that access your website and you want assign different administration, editing or viewing rights to different groups, you can do that with Joomla Access Control Levels. Wordpress does not offer this feature. This is why Joomla is your best option if you want a complete website building tool.
Why we need to change from Joomla 3 to Joomla 4
PHP is the language used by servers to control website databases. In August 2021, Joomla 4 was introduced. While Joomla 3 only supports PHP version 7, Joomla 4 supports PHP 7 and PHP 8. Beginning in 2022, the Hestia Control Panel now comes with PHP 8 by default. Therefore, moving forward, it is best to install Joomla 4 websites on our Hestia Control Panel. We can still use existing Joomla 3 websites on existing Hestia Control panels because these use PHP 7. But by August 2023, we will also need to upgrade all of our Joomla 3 websites to Joomla 4.
Step 1 Use your VPS Primary IP address to point your Domain Name to your VPS server.
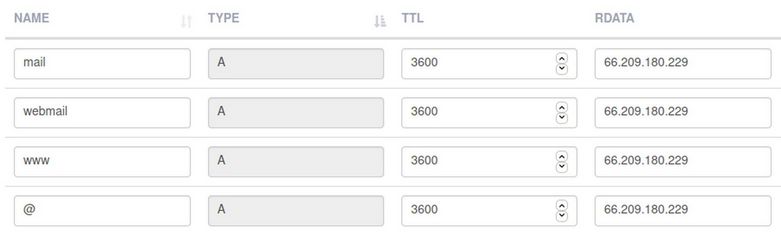
Here we will assume that you have already set up your Hestia VPS using a different domain name. Log into your Canhost account and click on Domains. Click on Name servers. Make sure they are set to be the default Canhost servers. Then click on My DNS. This opens the Canhost DNS Manager. By default, the Zone records point to the Canhost IP address. Delete the first four IP addresses, which are all A records, and replace them with the IP address of your own VPS.
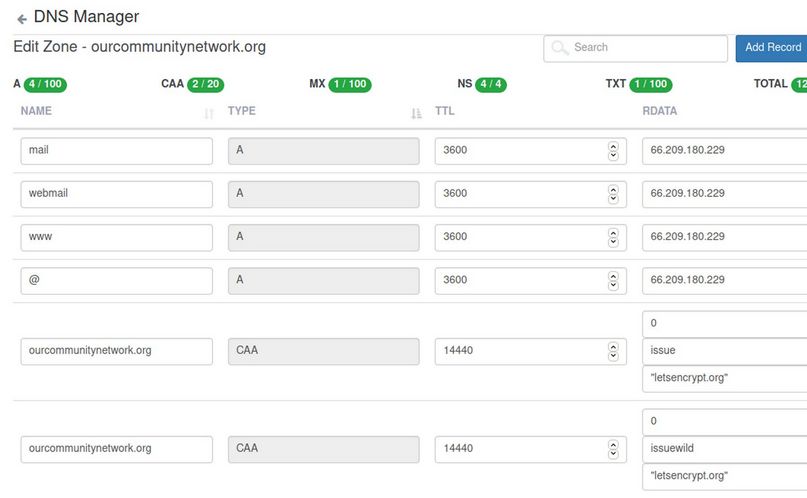
Click Save. Then click Add Record to create a CAA record:
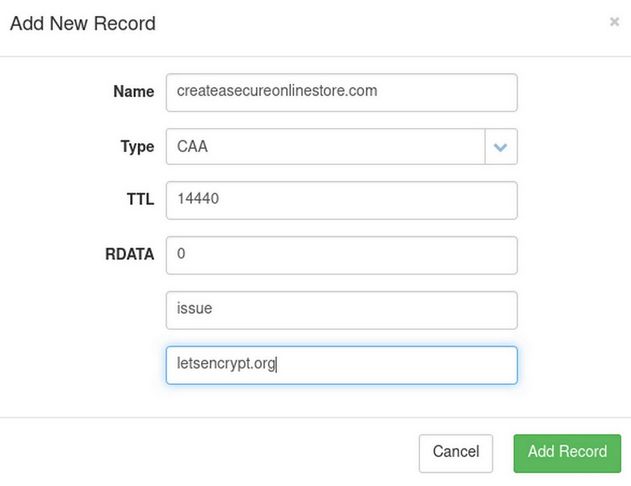
Your domain name goes in the top box. Type is changed to CAA. Rdata is the number 0. The next box, type issue and the bottom box, type letsencrypt.org. Then click Add Record. The second CAA record is the same only replace the word issue with issuewild. Leave the remaining DNS records in place. They are needed to connect your domain name to the Canhost servers. Then click Save Changes. When we are done, the first six DNS Zone Records will look like this:
Log out of Canhost and log into your Hestia admin panel.
Step 2 Create a New Hestia User
It is very important to create a new user for each website as this will create a wall for hackers preventing them from reaching the Admin Control Panel should they ever manage to break into an individual user account or website. Click Add User.
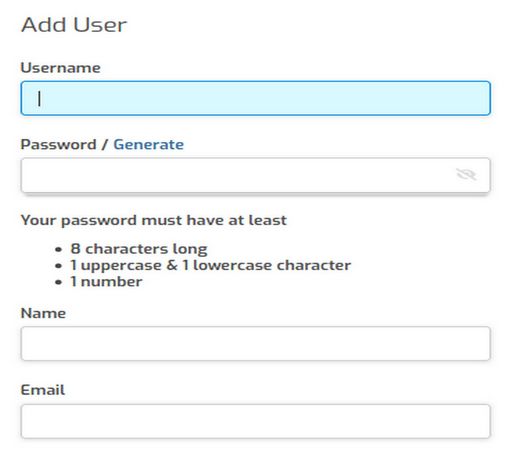
Type in an easy to remember username and easy to remember password. Then type in the User Name and email address. Click Save and Back to return to the Users screen. Then click on the arrow to the right of new user to go to the Hestia user account.
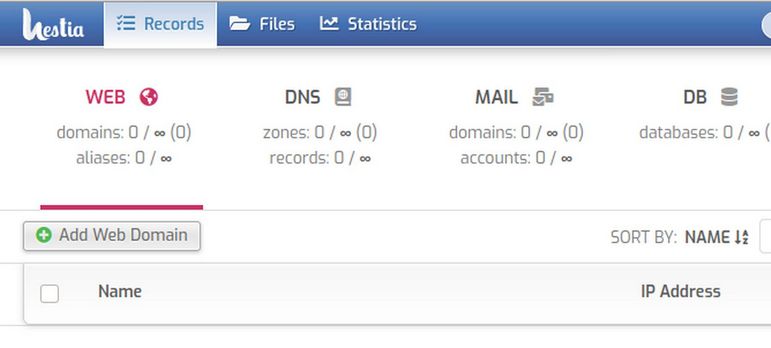
The Hestia User screen has fewer items that the Hestia Admin screen. The main areas we will use are Add Web Address, Mail to create custom email addresses, DB - to create databases for Joomla websites and Files - to add files for Joomla websites.
Step 3 Add your Web Domain to your Hestia User account
Click Add Web Domain to add a new web domain. We will add the domain name createasecureonlinestore.com,. Also check Create a DNS zone and Enable Mail.
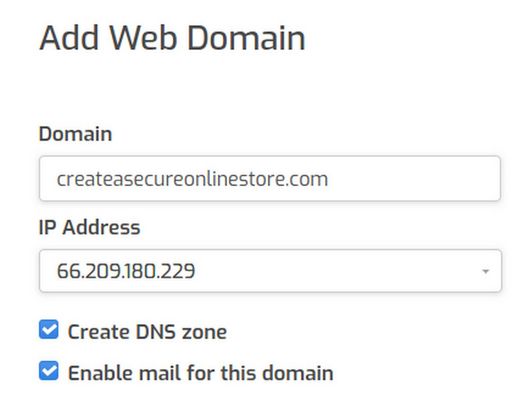
Type in your domain name and check Create DNS Zone and Enable mail. Then click Save and Back.
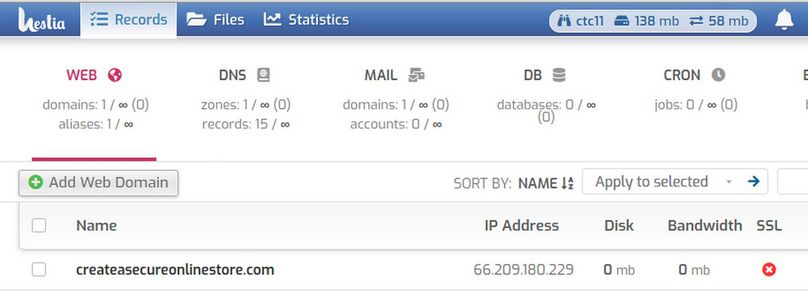
The red X means that initially your website does not have a Security Certificate. This is because the website needs to exist before we can add an SSL certificate.
Step 4 Get an SSL Certificate for your Domain Name
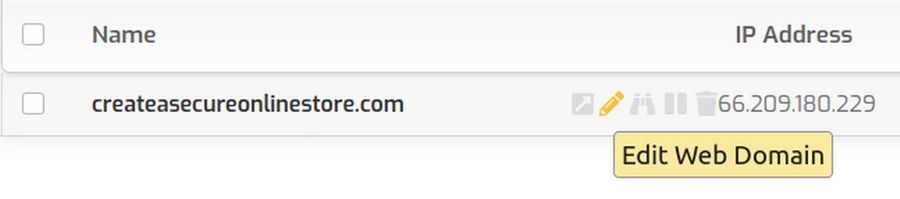
Now that your website exists, hover over the hidden Edit pencil t the right of the domain name and click Edit to edit our website.
Check Enable SSL for this domain which will bring up additional options:
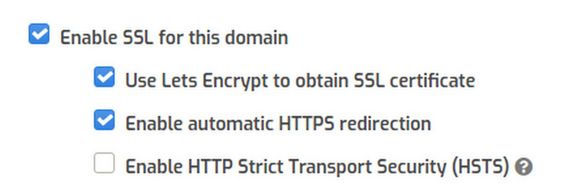
Then check Use Lets Encrypt. Then click Save and wait to see if you will be granted an SSL Security Certificate. Hopefully, after a while, a message will appear that "Changes have been saved." Click Back. Note that SSL now has a green check mark.
Step 4 Get an SSL certificate for your Mail Domain
Click on the MAIL icon in the top menu. Then click on the hidden Edit pencil. Then click Enable SSL and Use Lets Encrypt. Then click Save. Then wait for the green notice "Changes have been saved." Then click on the Back arrow.
Step 5 Add a secure domain based email to use during Joomla installation
Click on the hidden plus sign that is just to the right of the mail domain name. It is called Add Mail Account.
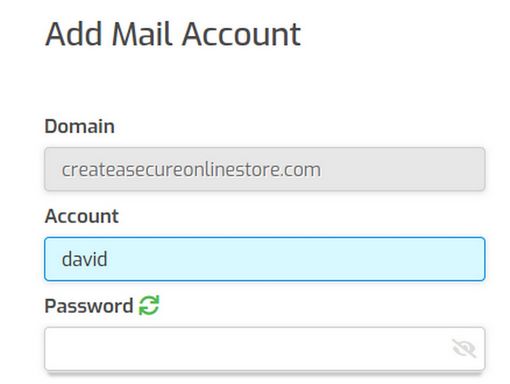
Enter an account name. For example, above I have added the account name david which will give me an email address of
Next, click on Advanced Options and place your collector email address in the Forward To box. Then click Save and Back. Then click Back again. Then click on the hidden up arrow to open Webmail. Enter your new custom email address and your password. Then click Login. Click Compose and send a test email to your normal email address. Click Send. Then log out of your custom email account. Log into your normal email account to verify that the email was sent.
Step 6 Create a database to use during Joomla installation
A major benefit of Hestia is that it makes it very easy to create a database. Just click on DB in the Hestia User top menu. Then click Add Database. Give the database a short name and username. Note that the full database and username includes the Hestia username and an underscore. Also add a password. Then copy paste the db name, username and password into a Writer document and save the Writer document because we will need this information when we create our Joomla 4 website. Click Save and Back.
Step 7 Download the latest version of Joomla 4 Installer
Go to Joomla.org and download Joomla 4.x. Here is the direct link:
https://downloads.joomla.org/cms
Currently, it is Joomla 4.1.0. This will download a zip file to your Downloads folder.
Step 8 Upload the Joomla 4.x Zipped File to public_html
In the Hestia User screen, click on Files in the top menu. Then click Web, your domain name and public_html:
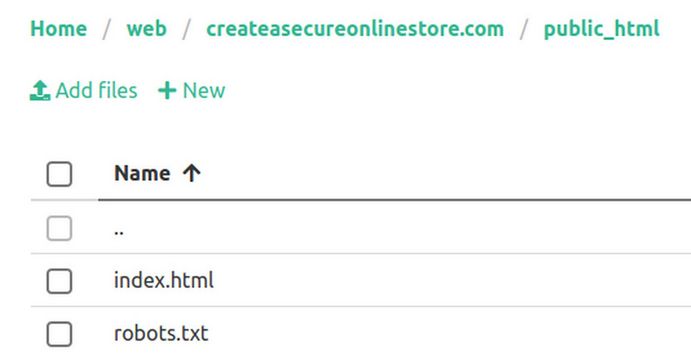
Click Add files and navigate to your Joomla 4 zipped file and select it. Wait for it to upload. Then click on the three dots at the right end of the zip folder and click Unzip. When it is done, there will be lots of folders and files in the public_html folder.
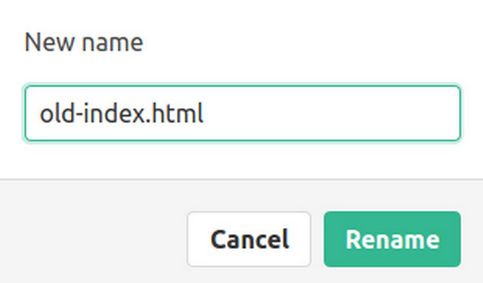
Find the Joomla zipped folder and click on the three dots. Then click Delete to delete the zipped folder. Then find the index.html file and click on the three dots and click Rename to rename it old-index.html.
Also find the file htaccess.txt and rename it .htaccess (aka dot htaccess). Also click on the images folder and delete all of the folders and images inside of the images folder. Then scroll up and click Exit to Control Panel.
Step 10 Start the Joomla 4 Installer
Click on the arrow to the right of the domain name to open a new browser tab and go to the Joomla 4 installer first screen:
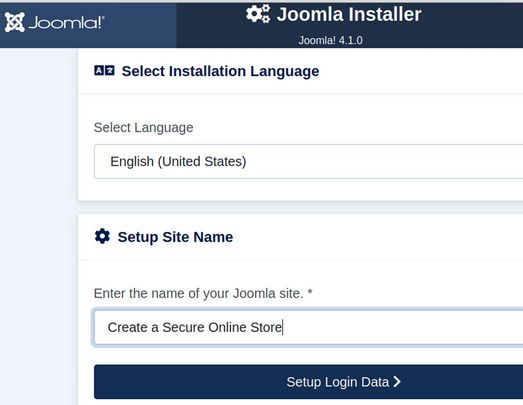
Tip: If the prior default Hestia page comes up instead, rather than clearing the browser tab, which will log you out of the Hestia panel, just copy the website URL into a browser tab on a different browser. Change the language to US English and type in the name of your website. Then click Setup Login Data. Enter your name, username, password and the custom email address we just created. Then click Setup Database.

Type in your database username and password. Then delete the database name joomla_db and replace it with your real database name we just created. Then click Install Joomla.
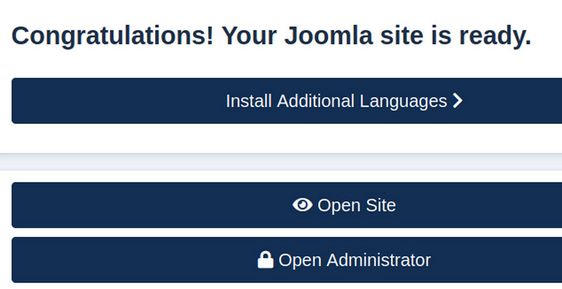
Click Open Administrator
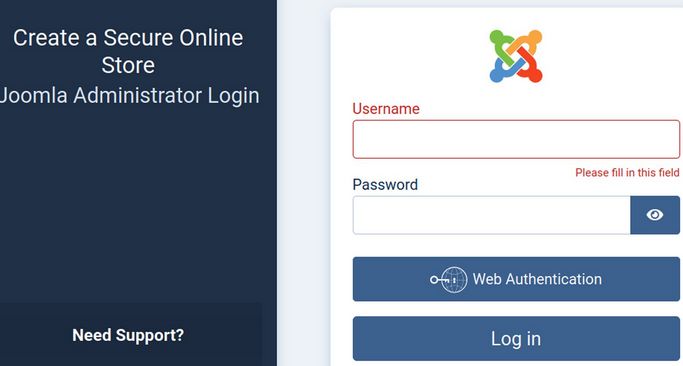
Type in your Joomla username and password and click Log in.

Click on your website name in the top menu to visit the public side of your website:
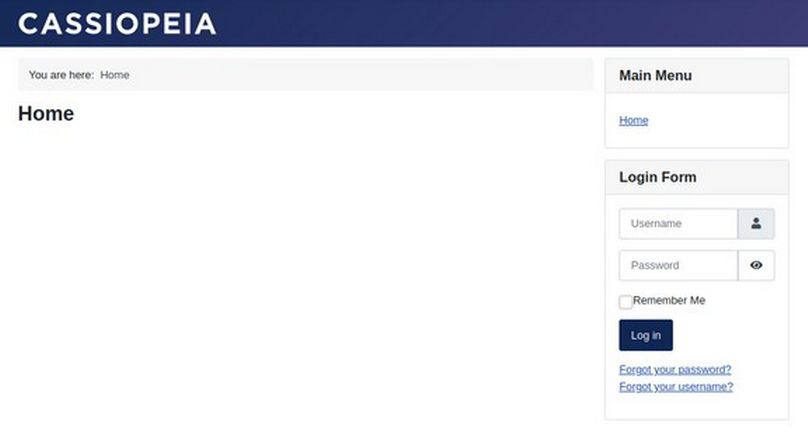
Sadly, the Joomla 4 Cassiopeia template does not even display our website name. Even worse, it also displays our Login form on the front end – which will quickly lead to spammer attacks trying to guess usernames and passwords.
Go back to the Dashboard and click on Modules. Then select and unpublish the log in module. Also go to System, Global Configuration, System Tab and change Session Lifetime from 15 minutes to 99 minutes. Also change URL rewriting from No to Yes. Close log out of your Joomla control panel by clicking on the person icon in the upper right corner. Then log out of your Hestia user screen and admin screen.
What's Next?
Now that you know how to use Hestia to create a Joomla website, in the next article, we will review some important first steps after installing Joomla 4.