
If you run a store with web pages to courses and/or other services, you may want a separate bottom menu or module to display links to pages to special products or services. In this article, we will first explain how to create a bottom menu and then review how to add modules to special services or featured products and place these modules on our website Home page to draw more attention to them.
Create a Module Position for a Bottom Menu
Click Template Styles. Then click the Helix template. Then click Layout. At the bottom of the layout is a Footer Row that has been divided into two module positions. Click on the Grid icon and click on the 12 box to change this to one module position.
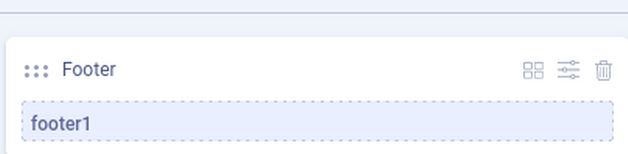
Then click on the Arrows. Then click Styles. Change the background color to #AAFFAA. Then click Save and Close.
Create a Bottom Menu
Click Menus, Manage, New. For Title, type Bottom Menu. For unique name, type bottommenu. For Description, type Bottom Menu.

Then click Save and Close.
Add a Menu Module
In the Menus Manage page, click Add a Module for this menu. Call it Bottom Menu. Hide the Title. Assign it to the Footer 1 module position.
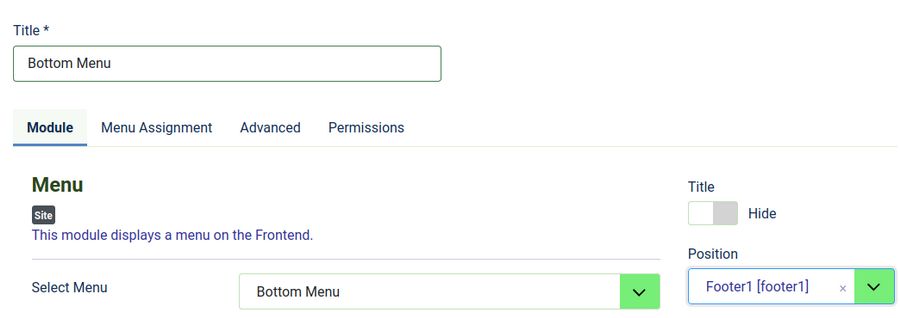
Then click the Menu Assignment tab and assign this module to All Pages. Then click Save and Close.
Create Menu Items for this Menu Module
In order for a menu module to display, it must have at least one menu item. Go to Content, Articles, New and create an Article called About Us. Then create another article called Contact Us. Then go to Menus, Bottom Menu, New. Click Select, Articles, Single Article. Then select the About Us article. Click Save and New to create a menu item for the Contact Us article. Then click Save and Close. Then view the result in the front end.

We need to add space between these menu items. However, merely adding padding to the Footer row will not create space as Helix uses Flex boxes for their row items. Therefore, we need to add to our custom.css file: .nav {column-gap: 20px;}

Add Featured Product Modules to our website Home page
There are many times when you want to draw attention to a special product or service you are offering by placing a module about it near the top of your website Home page. I have written four articles on creating Joomla modules which you can and should read at this link:
https://createasecurewebsite.com/final-steps/7-create-custom-modules/7-1-style-custom-modules-with-inline-css
This and subsequent articles explain the structure of Joomla modules. The most important article explains how to use Predefined Module Classes to style Joomla modules:
https://createasecurewebsite.com/final-steps/7-create-custom-modules/7-4-use-rainbow-presets
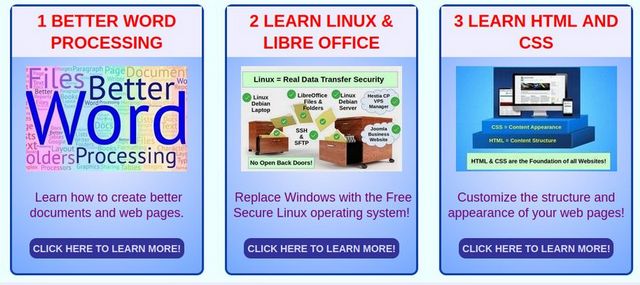
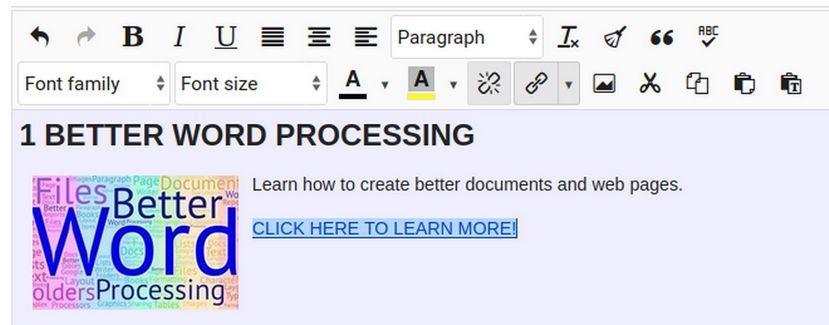
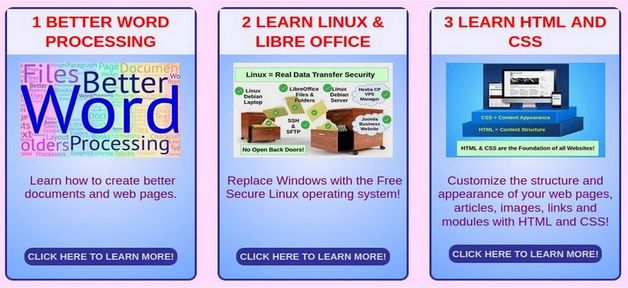
Here we will summarize how to use this Rainbow Module CSS Preset classes to create Shop Modules to display on your website Home page. Here is an example of our Rainbow Preset vertical layout:
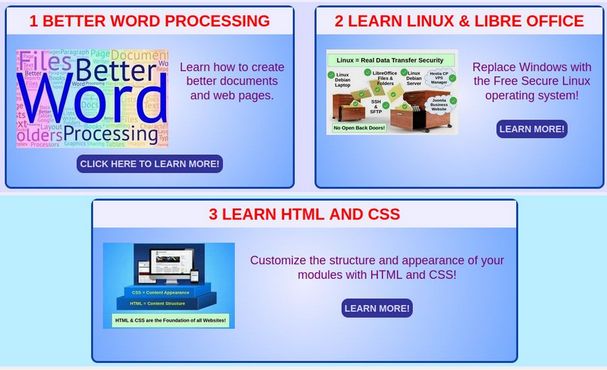
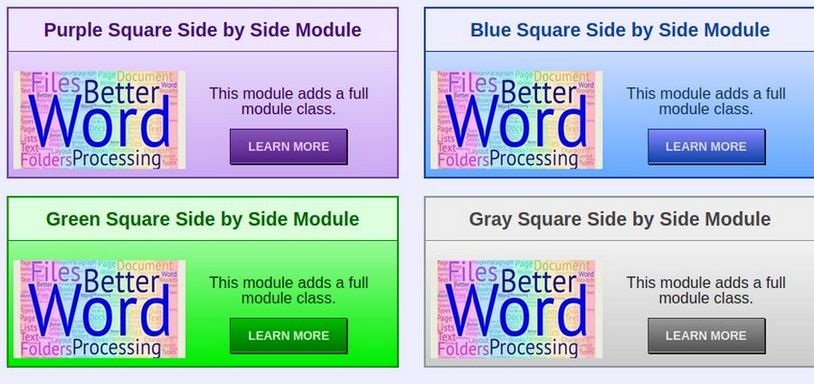
Here is an example of our Rainbow side by side module layout:
Both the vertical and side by side layouts come in 6 different colors with round buttons and 6 colors with square buttons.
Assuming you have added the Rainbow CSS Presets to your Helix template custom.css file, all you need to do to apply this style to a module is type “fullroundblue” into the Module Advanced Tab Module Class box.
How to Change the Module Layout from Vertical to Side by Side
One concern about traditional stacked modules is that they take up more vertical space on the screen than needed.

The large amount of vertical space is due to the fact that all of the elements of each module are vertically stacked from the Heading on top to the description, image and button on the bottom. This vertical stacking creates problems for viewing modules on mobile devices as it requires more scrolling. Therefore, we will review how to change the orientation of the module elements so that the description and button are placed to the right of the image. There should be no more than two of these modules per row.

If using one Module per row Change the Module Image Order and Alignment
This change must be made directly in each module using the JCE editor. Go to Content, Site Modules and create duplicates of three vertical modules. Open the first duplicate and change its name by adding Side By Side to the end. Change the module position to bottom1a and publish it. Then if the image was below the description, cut and paste the description to put it below the image. . Next, select the image and change the image float from the default of align center to align left. Also add 10px of margin all around the image. Click Update. Here is what the workspace now looks like:
Click Save and Close and View the result:

If using two Modules per row, Change the Module Image Order Alignment and Size
Open the second duplicate and change its name by adding Side By Side to the end. Change the module position to bottom1b and publish it. Then if the image was below the description, cut and paste the description to put it below the image. Next, select the image and change the image float from the default of align center to align left. Also add 10px of margin all around the image. Also reduce the width of the image from 250px to 200px.

Also reduce the button to LEARN MORE. Click Update. Repeat for the third duplicate module putting it in bottom1c.
We can add hidden lines to the HTML of the two module with less content to push the READ MORE link to the bottom of the module:
Here is an example of our side by side Rainbow modules:
How to Add Rainbow Module CSS Presets to your website
To add our Rainbow Module CSS Class Presets to your website all you need to do is:
First, download our zipped Rainbow Module Presets file from our website: https://createasecurewebsite.com/free-downloads
Second, go to Templates, Code and click on the Helix template to edit it. Then create your own custom.css file.
Third, unzip the Rainbow Module Presets file and open the custom.css file. Then copy paste the contents into your own custom.css file.
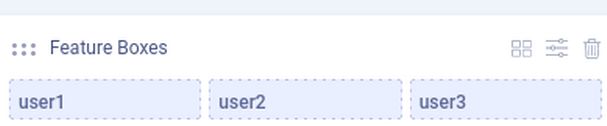
Fourth, create module positions for your custom Product Modules:
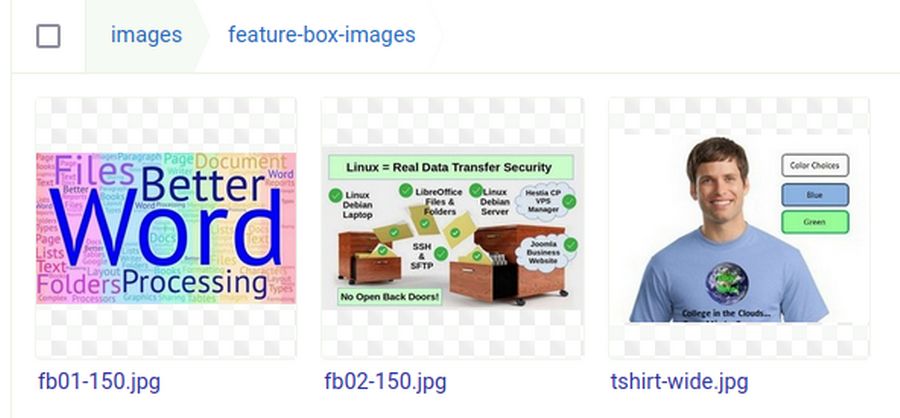
Fifth, create your own feature box images.

2

3

Sixth, compress and save these images to your Home computer website images folder. Then add the images to your website Feature Box images folder:
Seventh, go to Content, Site Modules, New and select the custom module. Then click ADD. Name the module whatever you want and add the heading 3 text, the feature image, the description text and the READ MORE line and link.
1 Better Word Processing
Insert Image
Learn how to create better documents and web pages.
CLICK HERE TO LEARN MORE!
Link:
https://betterwordprocessing.com/
2 Learn Linux and LibreOffice
Insert Image
Replace Windows with the Free Secure Linux operating system!
CLICK HERE TO LEARN MORE!
LINK
https://learnlinuxandlibreoffice.org/
Buy a College in the Clouds T Shirt
Insert Image
Help us promote our College in the Clouds courses!
CLICK HERE TO LEARN MORE!
Link:
https://createasecureonlinestore.com/our-demo-store/books/better-word-processing
Eighth, assign the module to one of our custom module positions, for example, user1, user2 or user3.
Ninth, click on the Menu Assignment tab and assign the module to only appear on select pages. Then check the website Home page.
Tenth, click on the Advanced tab and in the module class box, type a space, then type the rainbow module class you want to use, for example, fullroundblue.
Then click Save and Close and view the result.

Congratulations! You can now make as many custom Rainbow modules as you want!
What’s Next?
This concludes our chapter on shop processes. In the next chapter, we will add review how to manage shop inventory and process shop orders.